Showing posts with label visual merchandising. Show all posts

DIY Watercolour Ribbon - You Can Do It (Really!)

Tuesday, April 9, 2019

diy watercolour ribbon tutorial | Lorrie Everitt Studio

Looking for a little something special to add to your gift packaging and decorating? Try painting white satin ribbon using watercolour paints

diy watercolour ribbon tutorial | Lorrie Everitt Studio

DIY watercolour ribbons are not only a pretty handmade detail but they are also a great way to customize ribbon to match your decor, theme or packaging materials.

Here's how I do it:

diy watercolour ribbon tutorial | Lorrie Everitt Studio

Gather your supplies - Martha Stewart watercolour paint, white satin ribbon, water spray bottle, paint brushes, a protected work surface. 
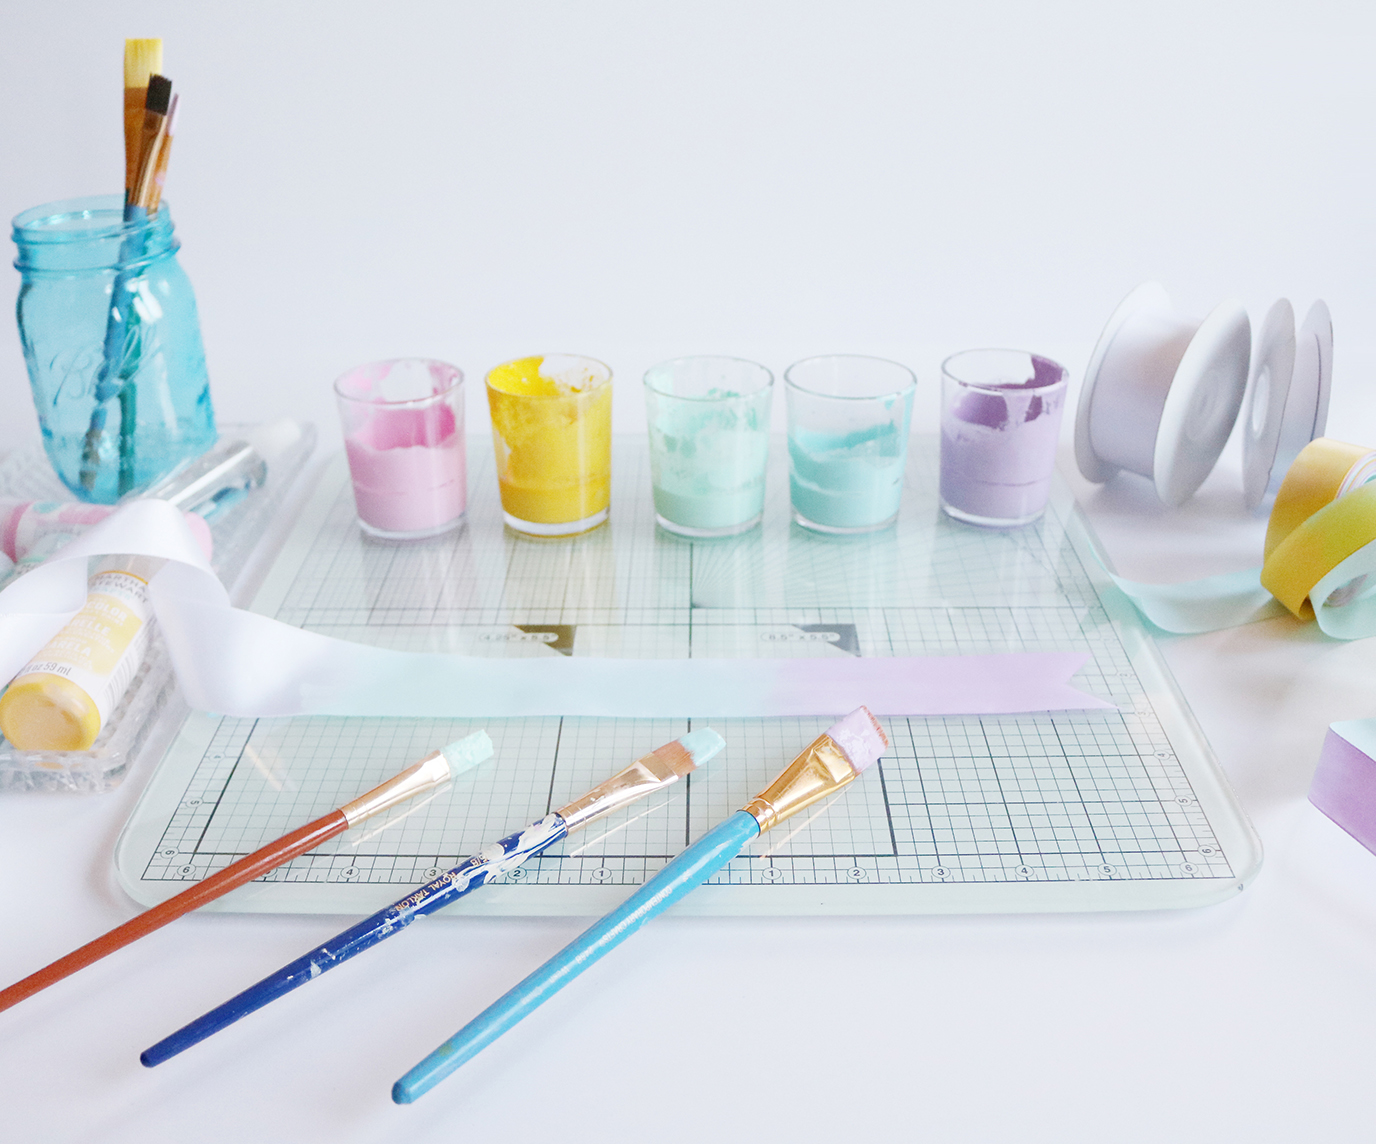
diy watercolour ribbon tutorial | Lorrie Everitt Studio

1. Use small containers to mix the watercolour paint with water. Experiment with how much water to add to the paint and test on a scrap piece of ribbon. You'll need to be able to easily brush the paint onto the ribbon but you don't want to water the paint down too much that the colours become too faint when it dries. I recommend using a different paint brush for each colour of paint.

Tip: You can use a hair dryer to speed up the drying time to check for colour.


2. You should work on a protected work surface and keep a roll of paper towel on hand for clean up. Lightly spray the white ribbon with water before starting to paint.

Tip: Use tin foil on a counter top if you are painting longer pieces of ribbon.

3. The watercolour paint should be brushed onto the ribbon in a continuous manner so that when you change colours the paints overlap slightly. There is really no right or wrong time to change the colours - just keep in mind how you are going to use the ribbon and how many colours you would like to see.

Tip: If you are using the ribbon for decorating favours, you may want to cut the ribbon a little larger that what you will need and then paint the individual strips.

4. Allow the ribbon to dry completely before using. 

Good to know: I use a drying rack to hang my ribbon as they dried.
Do not place wet ribbon in the dryer. 


Now that you've made all of this beautiful ribbon ... here's some ideas for how to use it this Easter! 

diy watercolour ribbon tutorial and Easter inspiration | Lorrie Everitt Studio

Find my free download for the faux hand lettering on the glass container here.

diy watercolour ribbon tutorial and Easter inspiration | Lorrie Everitt Studio

diy watercolour ribbon tutorial and Easter inspiration | Lorrie Everitt Studio

Find the free download and tutorial for adding the hand lettering to this cake pop box here.

diy watercolour ribbon tutorial and Easter inspiration | Lorrie Everitt Studio

diy watercolour ribbon tutorial and Easter inspiration | Lorrie Everitt Studio

diy watercolour ribbon tutorial and Easter inspiration | Lorrie Everitt Studio

diy watercolour ribbon tutorial and Easter inspiration | Lorrie Everitt Studio

I hope that you paint some of your own watercolour ribbon. If you do, I'd love to see it! Tag me on Instagram using @lorrieeveritt so I can find your post.


diy watercolour ribbon tutorial and Easter inspiration | Lorrie Everitt Studio

Special thanks to my collaborator friends for this blog post:


diy watercolour ribbon tutorial | Lorrie Everitt Studio


inspiration - Tinsel Trading Company, New York

Friday, April 30, 2010

While I was in New York the other week, I stumbled upon this beautiful and inspiring shop at 1 West 37th Street called Tinsel Trading Company. I love antiques and vintage findings and this store has it all ... you would think that you just travelled back in time to the 1940's when you walk inside. I took a couple of pictures of the store windows but I think I would have shot another dozen pictures if I was not in such a rush to get inside to see all  of the treasures! This store has vintage European notions - threads, buttons, ribbon, metallic trims and fringes - that have been sitting (mainly unused) in the basement of this store since the mid 1900's. Check out Tinsel Trading Company's website for more details about it's history at http://www.tinseltrading.com/aboutus.html

Here's my friend Karen sitting in from of a wall of trim ... and here's some more pictures from inside the shop ...


We only had carry on luggage with us for the trip so I could only purchase a couple of things ...

here I am in the cash desk after making my purchase - a container of German "Emporium Pure Glass Glitter",
silver metallic thread (on it's original wooden spool - so cool!), a glass jar full of vintage buttons (I've collected vintage buttons for years and this is the biggest stash of pink pearl buttons I've ever seen at once) and a book called "French General Treasured Notions" by Kaari Meng.


The book was just published and it is all about crafts that were inspired by notions from this store!!! I saw the book at a bookstore in Grand Central Station about an hour earlier and decided not to buy it as I figured I could get it at home. Of course, I HAD to have it after being in the store. Unfortunately, the store was having a book signing the next day and we would be back home in Canada ... so I was unable to get my book signed (no autograph from Martha Stewart that day either ... good thing I didn't buy any lottery tickets that day!). Oh, that reminds me, if you check out the Tinsel Trading Company's website you will see that Martha loves this store too and it has been featured on her show and in her magazine quite a bit.

There is a little sequined bird project in the book that I think I will have to try ... as well as a button charm bracelet ... but the most inspiring part of the book for me right now is the photography and the graphics! I'm trying to put together a couple of small memory books from our New York trip and I'm going to give the memory books a vintage theme inspired by Tinsel Trading Company's visual displays and notions.

If you ever go on a trip to New York City ... I highly recommend visiting this store ... it is walking distance from both Times Square and Grand Central Station.


The store also reminded me to dig out one of my vintage button projects that has been collecting dust waiting to be framed. I sewed vintage buttons to a piece of heavy weight handmade paper (the paper is 30" x 23") ... it took me about 2 summers to complete it (as I only worked on it on rainy days at the cottage) ... hopefully, we will be going to the Christie Antique show later in May and I can find a suitable frame for it.