Showing posts with label gift giving. Show all posts

DIY Easter themed gift packaging using pom poms

Saturday, March 17, 2018


 DIY Easter themed gift packaging inspiration using handmade pom poms | Lorrie Everitt Studio

In my last post I showed you how to make your own pom poms using The Loome pom pom tools. Today I thought that I'd show you some of the Easter themed projects that I created using my pom poms.

DIY Easter themed gift packaging inspiration using handmade pom poms | Lorrie Everitt Studio

I placed pom poms on these burlap tote bags. I think that these tote bags would be so sweet for an Easter egg hunt. Finish the front and the backs of the bags or just add a pom pom to one side ... there's no right or wrong.

On the front: a small pink pom pom along with a few hand stitched whiskers. 
On the back: a larger white pom pom.

DIY Easter themed gift packaging inspiration using handmade pom poms | Lorrie Everitt Studio

Turn plain muslin drawstring bags into Easter favor bags by adding pom poms. I added a small punch of colour to the pom poms to represent a bunny nose and a chick beak. It was easy to add an embroidered word to the muslin bag for another fun detail.
Tip: I used disappearing fabric ink pens to write out what I was going to embroider.

DIY Easter themed gift packaging inspiration using handmade pom poms | Lorrie Everitt Studio

DIY Easter themed gift packaging inspiration using handmade pom poms | Lorrie Everitt Studio

DIY Easter themed gift packaging inspiration using handmade pom poms | Lorrie Everitt Studio

Tip: If you are going to use fabric bags to package edible items you should package the food in clear candy bags first. 

DIY Easter themed gift packaging inspiration using handmade pom poms | Lorrie Everitt Studio

Turn any plain wine bag into an Easter theme wine bag by adding a pom pom to the bottom of the bag. Who wouldn't love to receive this as a hostess gift on Easter weekend?
Tip: Sew the pom pom in place with a few stitches so it will not fall off. 

DIY Easter themed gift packaging inspiration using handmade pom poms | Lorrie Everitt Studio

Pom poms can be added to plain paper shopping bags using glue. I created tissue paper pom poms and tissue paper bunny "ears" to make my gift bags a little more special.


DIY Easter themed gift packaging inspiration using handmade pom poms | Lorrie Everitt Studio


pretty gift topper inspiration

Sunday, December 24, 2017

pretty gift topper inspiration from Lorrie Everitt Studio

Just in case you are still finishing up your holiday gift wrapping today here's a little last minute inspiration to make your gift wrapping a little prettier by using a variety of different gift toppers. I love to add gift toppers to my gift wrapping because it's pretty and because it's like you are giving a bonus gift. And who wouldn't like that?!

pretty gift topper inspiration from Lorrie Everitt Studio

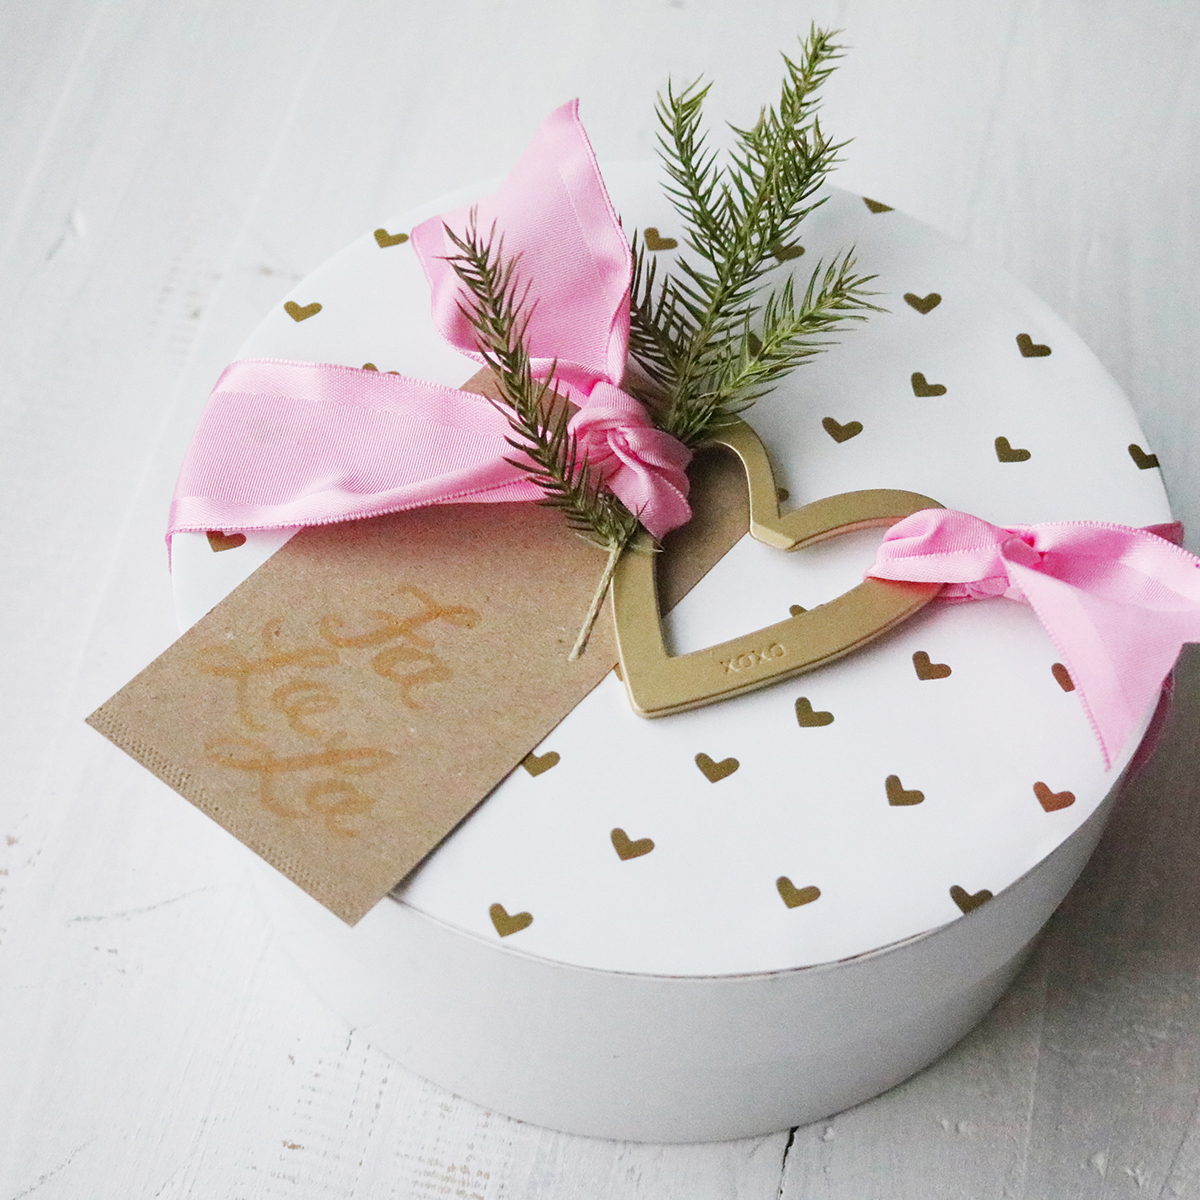
This heart shaped bottle opener is both practical and beautiful. I stock up on these to use for hostess gifts all year round.


pretty gift topper inspiration from Lorrie Everitt Studio

For the bakers and foodies on your list - add a cookie cutter or an edible cookie ornament! My custom owl cookie ornament was made for me by Mary from Emma's Sweets and you can check out her cookie decorating tutorials here.

pretty gift topper inspiration from Lorrie Everitt Studio

This fresh rosemary wreath isn't just pretty, it will make your gift smell good too! I added a round coaster with a holiday message behind the wreath as a gift tag.

pretty gift topper inspiration from Lorrie Everitt Studio

Mini wreaths all tied up with ribbon are so simple yet so elegant.

pretty gift topper inspiration from Lorrie Everitt Studio

Add a one-of-a-kind hand painted ornament for a personal touch like this one from Jennifer Fryer.

pretty gift topper inspiration from Lorrie Everitt Studio

If you shopped at any local holiday markets you might have picked up handmade ornaments like this adorable wood fox by Kiriki Press. You can make your own gift tags using photos .

pretty gift topper inspiration from Lorrie Everitt Studio

I've shown you how to make these simple paper bows before and they are a great way to use up your wrapping paper scraps.

pretty gift topper inspiration from Lorrie Everitt Studio

Can't find something to use as a gift topper? No problem. You can add a personal touch to plain gift boxes and wrapping paper using markers, stamps and paints. I used a gold metallic pen to draw a design to the top of this gold foil edged gift box.

Happy wrapping and Merry Christsmas.


Sources: All of my gift wrapping supplies were from Creative Bag
Floral elements were created by Flower Treasures
All photography is my own with the exception of the two photos that were credited to Janet Kwan Photography.


pretty gift topper inspiration from Lorrie Everitt Studio

gift wrapping inspiration for a bridal shower

Tuesday, May 16, 2017

bridal shower gift wrapping inspiration | Lorrie Everitt Studio

Gift wrapping is the most important part of gift giving to me. Even if I give a gift card or cash, I always try to spend a little extra time with the gift wrapping. 

 I like to mix everyday basic supplies with bold graphic elements and a few unexpected elements. Follow along and I'll show you how I recently gift wrapped some items for a bridal shower.

1. Start with a plain brown paper bag with handles. Use a bold black and white striped ribbon to tie a bunch of handmade crepe paper flowers to the handle. 

bridal shower gift wrapping inspiration | Lorrie Everitt Studio

2. Use pretty wrapping paper like this one with the gold confetti pattern and add the same black and white striped ribbon to finish. Not very good at tying bows? Then don't make a bow. Cut the ribbon ends to look professional.

bridal shower gift wrapping inspiration | Lorrie Everitt Studio

bridal shower gift wrapping inspiration | Lorrie Everitt Studio

bridal shower gift wrapping inspiration | Lorrie Everitt Studio

3. I actually don't like using wrapping paper to wrap gifts, so I took the vintage serving utensils out of their original boxes and repackaged them in these burlap bags. The vintage forks and cake server were hand stamped by a local artisan and I simply tied them onto kraft cardboard using a thinner ribbon and placed them inside the bag.

bridal shower gift wrapping inspiration | Lorrie Everitt Studio

4. Add a card. I love how this gold foil card from Prose and Fawns Paperie co-ordinates with the gold confetti wrapping paper that I designed for Creative Bag. I think that this card would be sweet framed as a piece of art.

bridal shower gift wrapping inspiration | Lorrie Everitt Studio

5. Put everything inside the bag and add two pieces of fluffed green tissue paper to finish.

I created my crepe paper flowers but you could also use silk flowers. If you are interested in making your own paper flowers you will find lots of flower making inspiration on my Pinterest board.

bridal shower gift wrapping inspiration | Lorrie Everitt Studio


DIY cork coasters for the holidays

Thursday, November 10, 2016

diy cork coasters | Lorrie Everitt Studio

Looking for a simple holiday gift project? How about these custom holiday coasters.

diy cork coasters | Lorrie Everitt Studio

I created these four coasters in less than an hour using digital graphics and a font that I purchased from Creative Market. I put one initial on each coaster design so everyone in my family would have their own coaster.

diy cork coasters | Lorrie Everitt Studio

Here's what you will need to create these yourself: cork coasters, laminating sheets, scissors, pencil, glue and a glass (a little smaller than your coasters).

diy cork coasters | Lorrie Everitt Studio

After designing each coaster, I printed them out on card stock. Before laminating the paper, you need to cut out the designs into circles that are slightly smaller than your cork coaster. I used a drinking glass as a template to draw circles with a pencil around my art.

diy cork coasters | Lorrie Everitt Studio

Follow the instruction on your self laminating sheets to laminate the paper circles. The next step is to cut out the laminated coaster designs. Keep in mind as you are cutting that you need to leave a clear border around each circle so that the paper remains laminated.

diy cork coasters | Lorrie Everitt Studio

The last step is to glue your laminated art on to the cork coasters.

I created these holiday coasters as part of a #makefulchallenge. I received the cork coasters in the mail from Makeful and was instructed to embellish them any way I wanted. You can see my entry into the contest here.

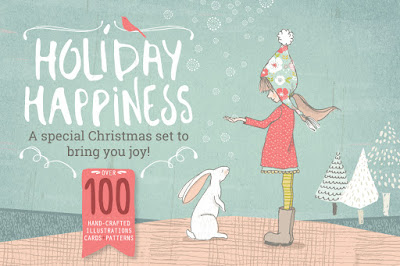
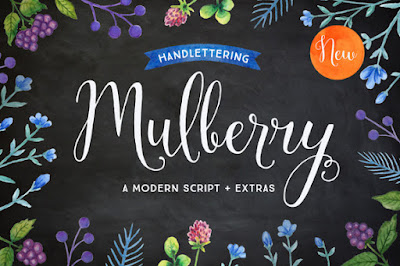
The holiday graphics bundle from Creative Market is called Holiday Happiness by Lisa Glanz and the font is called Mulberry .

Holiday Happiness digital graphics bundle by Lisa Glanz on Creative Market

Mulberry font from Creative Market

You could also create these coasters using photographs, wrapping paper or decorative scrapbooking papers. Stay tuned for more holiday gift giving and decorating projects.


diy cork coasters | Lorrie Everitt Studio

Handmade photo cards for Valentine's Day and a free printable

Friday, February 12, 2016


handmade photo cards for Valentine's day and a free printable | Lorrie Everitt Studio

What could be more personal and thoughtful than giving your sweetheart a Valentine card that you created yourself? It's so easy to make keepsake cards for the holidays or a special occasion using your photos and some basic card making tools.

handmade photo cards for Valentine's day and a free printable | Lorrie Everitt Studio

For Valentine's Day I am giving my husband this handmade card. I created it using a picture that was taken of us at the Eiffel Tower last year. The card took less than an hour to make because I was able to print the photo at home on my photo printer. The hardest part about making the card was trying to decide which photo to use!

handmade photo cards for Valentine's day and a free printable | Lorrie Everitt Studio

Photo cards don't have to be really complicated to look good. So keep it simple!

handmade photo cards for Valentine's day and a free printable | Lorrie Everitt Studio

Gather your materials: blank cards and envelopes, photos, glue dots or two-sided tape, decorative tape, scissors, ruler and a pencil. It's also nice to have a large paper cutter, paper punches, cardstock, scrap paper, stamps, ink pads and ribbons.

You can purchase blank cards at most arts and craft stores or make your own using cards using cardstock. 

To help get you started on making your own handmade card for Valentine's Day, I created a free download with six different love themed sayings.

handmade photo cards for Valentine's day and a free printable | Lorrie Everitt Studio

 I prefer to cut my photos using large paper punches or my paper cutter because I can quickly and easily crop photos into perfect shapes.

My tip for using paper punches - position your photo in the paper punch so that you can see what you are cutting out before you punch.

For the best results, always use glue dots or two-sided tape to attach your photo to your card. Washi tape and glitter tape make nice decorative elements to use on your cards.

handmade photo cards for Valentine's day and a free printable | Lorrie Everitt Studio

If you prefer not to cut your photos, another option is to cut a hole on the card front using the paper punches and add your photo to the inside of the card as shown above.

handmade photo cards for Valentine's day and a free printable | Lorrie Everitt Studio

I created this free printable with saying that are suitable for Valentine's day, wedding or  anniversary cards. Simply download the file and print the second page onto cardstock. Cut the sayings out and add them to your handmade cards.

handmade photo cards for Valentine's day and a free printable | Lorrie Everitt Studio

Like the idea of creating more cards using your photos? Want a little more inspiration? Check out Roam New Roads and my video tutorial for handmade photo cards.