Showing posts with label display ideas. Show all posts

DIY Watercolour Ribbon - You Can Do It (Really!)

Tuesday, April 9, 2019

diy watercolour ribbon tutorial | Lorrie Everitt Studio

Looking for a little something special to add to your gift packaging and decorating? Try painting white satin ribbon using watercolour paints

diy watercolour ribbon tutorial | Lorrie Everitt Studio

DIY watercolour ribbons are not only a pretty handmade detail but they are also a great way to customize ribbon to match your decor, theme or packaging materials.

Here's how I do it:

diy watercolour ribbon tutorial | Lorrie Everitt Studio

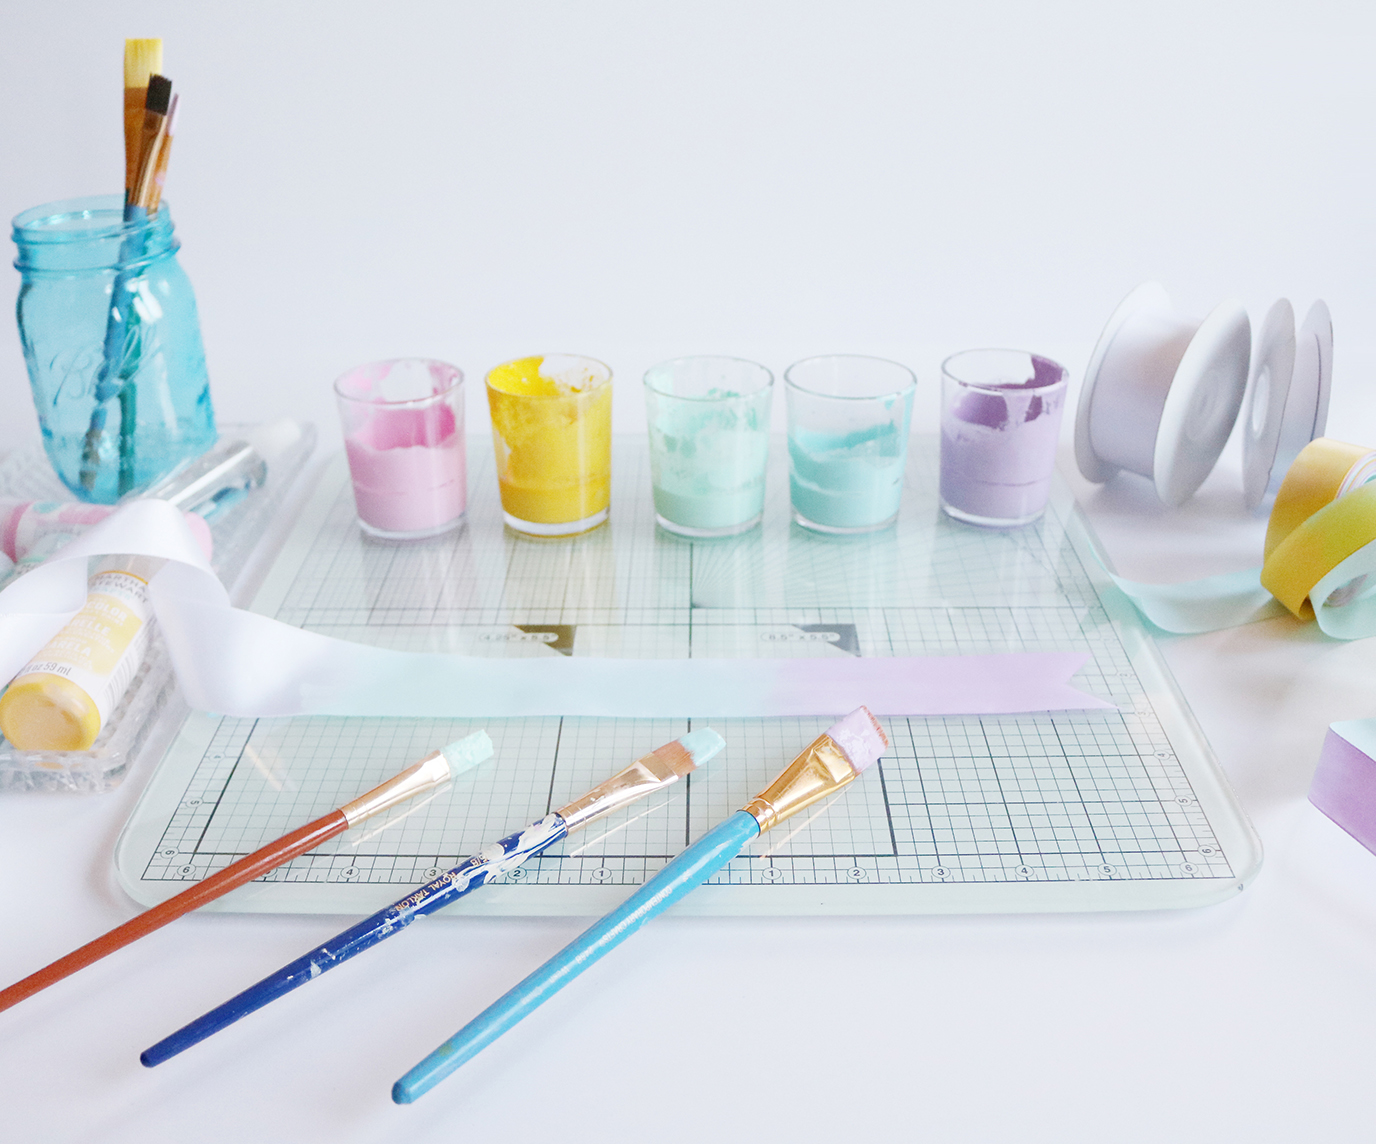
Gather your supplies - Martha Stewart watercolour paint, white satin ribbon, water spray bottle, paint brushes, a protected work surface. 
diy watercolour ribbon tutorial | Lorrie Everitt Studio

1. Use small containers to mix the watercolour paint with water. Experiment with how much water to add to the paint and test on a scrap piece of ribbon. You'll need to be able to easily brush the paint onto the ribbon but you don't want to water the paint down too much that the colours become too faint when it dries. I recommend using a different paint brush for each colour of paint.

Tip: You can use a hair dryer to speed up the drying time to check for colour.


2. You should work on a protected work surface and keep a roll of paper towel on hand for clean up. Lightly spray the white ribbon with water before starting to paint.

Tip: Use tin foil on a counter top if you are painting longer pieces of ribbon.

3. The watercolour paint should be brushed onto the ribbon in a continuous manner so that when you change colours the paints overlap slightly. There is really no right or wrong time to change the colours - just keep in mind how you are going to use the ribbon and how many colours you would like to see.

Tip: If you are using the ribbon for decorating favours, you may want to cut the ribbon a little larger that what you will need and then paint the individual strips.

4. Allow the ribbon to dry completely before using. 

Good to know: I use a drying rack to hang my ribbon as they dried.
Do not place wet ribbon in the dryer. 


Now that you've made all of this beautiful ribbon ... here's some ideas for how to use it this Easter! 

diy watercolour ribbon tutorial and Easter inspiration | Lorrie Everitt Studio

Find my free download for the faux hand lettering on the glass container here.

diy watercolour ribbon tutorial and Easter inspiration | Lorrie Everitt Studio

diy watercolour ribbon tutorial and Easter inspiration | Lorrie Everitt Studio

Find the free download and tutorial for adding the hand lettering to this cake pop box here.

diy watercolour ribbon tutorial and Easter inspiration | Lorrie Everitt Studio

diy watercolour ribbon tutorial and Easter inspiration | Lorrie Everitt Studio

diy watercolour ribbon tutorial and Easter inspiration | Lorrie Everitt Studio

diy watercolour ribbon tutorial and Easter inspiration | Lorrie Everitt Studio

I hope that you paint some of your own watercolour ribbon. If you do, I'd love to see it! Tag me on Instagram using @lorrieeveritt so I can find your post.


diy watercolour ribbon tutorial and Easter inspiration | Lorrie Everitt Studio

Special thanks to my collaborator friends for this blog post:


diy watercolour ribbon tutorial | Lorrie Everitt Studio


You can do this - painted macarons and chocolate candy sweets

Tuesday, March 27, 2018

diy sweet ideas for entertaining and favors - painted macarons and chocolate candy sweets | Lorrie Everitt Studio

I am so excited to share two of my favourite DIY edible projects with you today. 

Not everyone has the time (or the skills) to make all of the pretty edible sweets that we see on Instagram. Taking a cookie decorating workshop has been at the top of my "wish list" for a while. For now, I am happy to just add hand painted details to pre-made macarons and create these simple candy treats.

diy sweet ideas for entertaining and favors - painted macarons | Lorrie Everitt Studio

diy sweet ideas for entertaining and favors - painted macarons  | Lorrie Everitt Studio

My Easter themed hand painted macarons are very easy to create using vodka, gel food colouring and of course pre-made macarons. My macarons came from Macaronz. I should point out that the colours of the macarons were more important to me for this project than the flavours.

diy sweet ideas for entertaining and favors - painted macarons  | Lorrie Everitt Studio

Here's the supplies that you'll need to paint on macarons: vodka, gel food colouring, paint brushes for baked goods and a small paint palette.

1. Painting with gel food colouring and vodka is very much like working with watercolour paints. Add a small amount the gel food colours into the paint palette and water it down using just a little vodka. The more vodka you add the more "watered down" the colour will become.

2. Paint your design using the food safe paint brushes on the macarons. And that's it!

Pretty simple right?  You can use my examples as inspiration to make these yourself or come up with your own designs. 

Tip: Get a couple of extra macarons to practice on first. Practice with different paint brushes and test your colours. You can just eat the test samples so it's a win/win ;)

Note: The vodka paint does not make the macaron soggy and it does not change the taste of the macaron. From everything that I have been able to research on this technique, the vodka evaporates so it's safe to give these to children. 

diy sweet ideas for entertaining and favors - painted macarons | Lorrie Everitt Studio

My Easter themed macarons included a chick, bunny, and whimsical decorated egg and carrot patterns.

diy sweet ideas for entertaining and favors - painted macarons  | Lorrie Everitt Studio

diy sweet ideas for entertaining and favors - painted macarons | Lorrie Everitt Studio

If you want to use these painted macarons as party favours head over to this blog post for packaging ideas.

diy sweet ideas for entertaining and favors -  chocolate candy sweets | Lorrie Everitt Studio

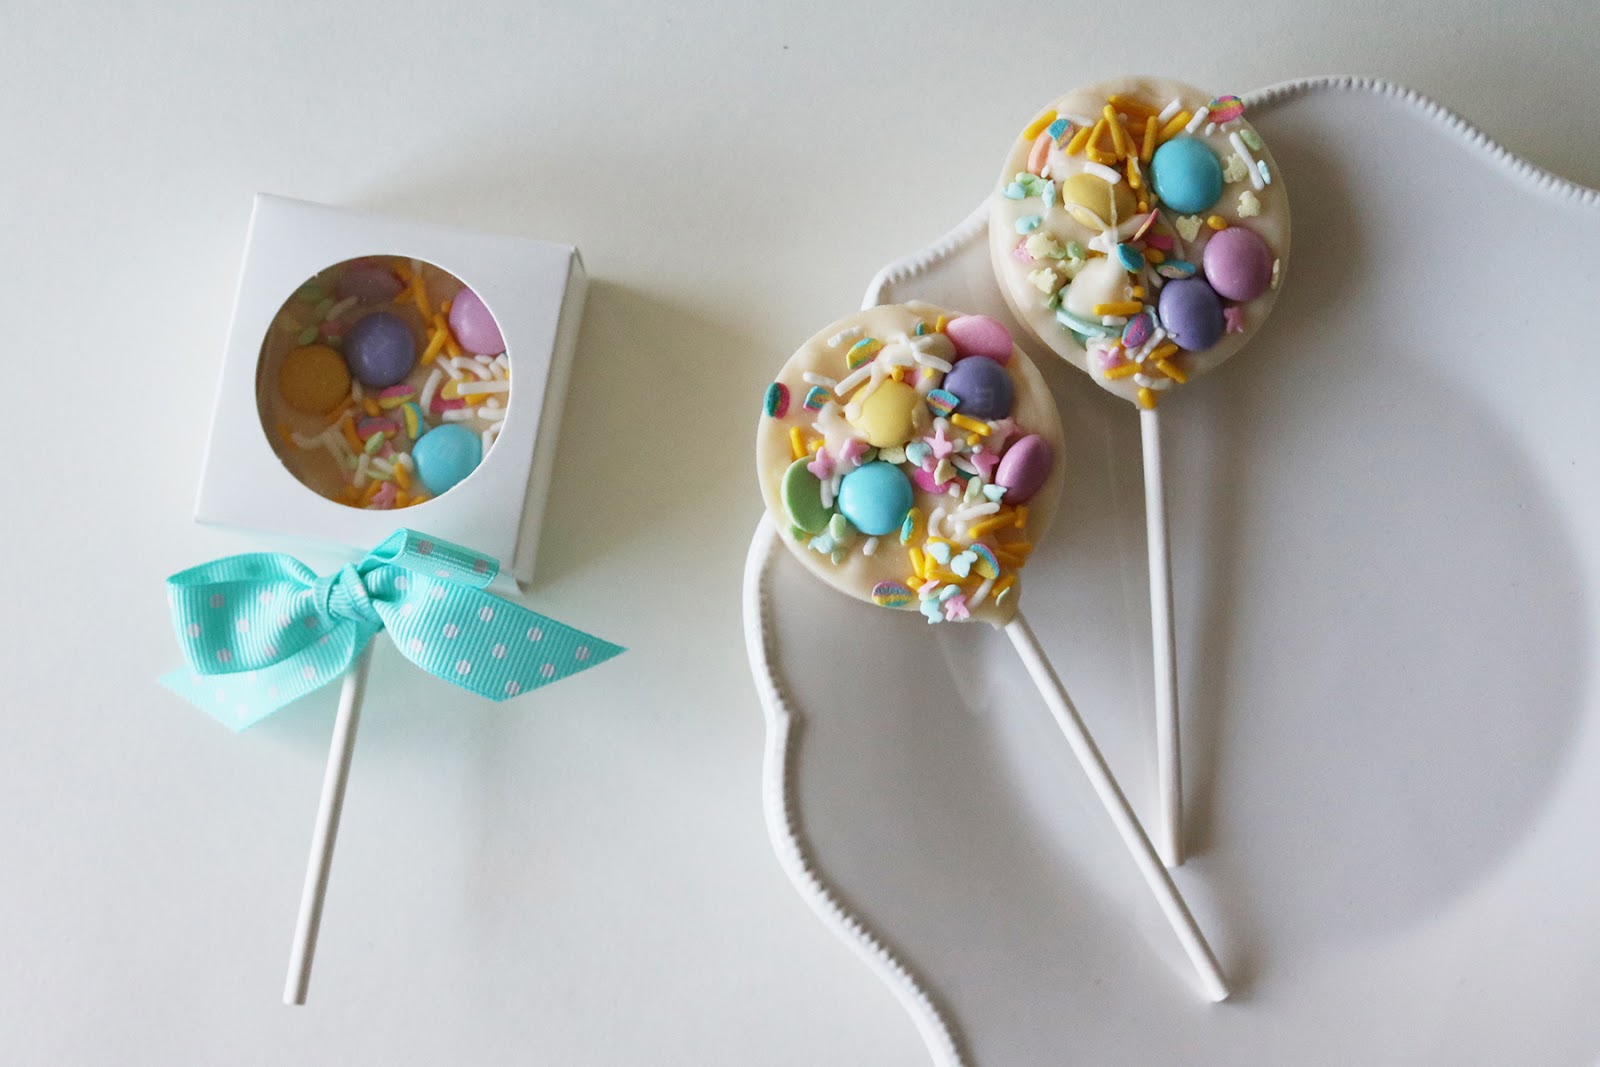
I love candy melts and they are a basic baking supply that I stock in my pantry all year round. I used vanilla chocolate candy melts in lollipop molds to create these pretty and easy Easter theme candy treats.

diy sweet ideas for entertaining and favors - chocolate candy sweets | Lorrie Everitt Studio

Here's the supplies that you'll need : lollipop candy mold, lollipop sticks, (vanilla) candy melts, chocolate M&Ms, assorted candy sprinkles, microwave safe containers.

1. Place the lollipop sticks in the candy molds. 

2. Melt the candy melts as per the instructions on the package. 

3. Pour the melted candy into the candy mold.

4. Working quickly before the melted candy hardens in the molds add sprinkles and M&M chocolate candies to decorate.

5. Allow to completely harden for an hour. Pop them from the molds and you are done.


diy sweet ideas for entertaining and favors - chocolate candy sweets | Lorrie Everitt Studio

I think that these would make wonderful party favours and you can find more information on how to package these in this blog post.

diy sweet ideas for entertaining and favors - chocolate candy sweets | Lorrie Everitt Studio

I like to display sweets on sticks in jars filled with candies or coarse sugar. This display idea works whether you are serving these (unpackaged) treats on a sweet table or setting them up as a favour/take away.

diy sweet ideas for entertaining and favors - chocolate candy sweets | Lorrie Everitt Studio

Tip: I use paper straws that have been cut to different heights in the jar to hold the lollipop sticks in place and add to the visual presentation.

diy sweet ideas for entertaining and favors - chocolate candy sweets | Lorrie Everitt Studio

Have a sweet (long) weekend!

diy sweet ideas for entertaining and favors - painted macarons and chocolate candy sweets | Lorrie Everitt Studio

Tuesday, December 12, 2017


Creating sweet tables has to be one of my favourite things to do during the holidays. 

You don't need to have a lot of different treats to create a holiday sweet table. I used assorted serving dishes, buffalo gift boxesburlap ribbons, mini trees and lights for my festive set up.

I prefer to put out a little bit of everything in smaller containers and then refill them every once in a while so that the display looks some what full for most of time.

Here's how I set up my little stress free sweet table:

home for the holidays - set up a sweet table | Lorrie Everitt Studio

Buffalo plaid gift boxes are both functional and decorative in my set ups. If you don't have gift boxes, you can create a similar look using books covered with wrapping paper "jackets" like I did here.

home for the holidays - set up a sweet table | Lorrie Everitt Studio

I have created these snow globe inspired jars filled with cookies as hostess gifts for years. This year I thought that it would be fun to make one for myself and use it as the focal point of my sweet table display. 

 I use coarse sugar to create a snowy base in the glass containers.The mini gingerbread house and cookies are from Mad Batter BakersThe container is more of a display element so you may want to fill another serving dish with gingerbread cookies for guests to easily take and eat.

home for the holidays - set up a sweet table | Lorrie Everitt Studio

I filled a candy dish with custom made sugar cookies from Emma's Sweets. You can add coarse sugar to the bottom of the candy dish so that the cookies will stand up.

home for the holidays - set up a sweet table | Lorrie Everitt Studio

Another small candy dish was filled with assorted colours of french macarons from Macaronz and placed on a gift box for height.

home for the holidays - set up a sweet table | Lorrie Everitt Studio

Not everything on your sweet table has to be baked goods. I like to fill larger containers with chocolates, popcorn, candy and nuts.

home for the holidays - set up a sweet table | Lorrie Everitt Studio

Once the serving dishes have been set up I fill in large spaces with gift boxes tied up with ribbon. I like to use pretty gift boxes in my holiday decor and in January I fill them with Christmas tree decorations for storage.

home for the holidays - set up a sweet table | Lorrie Everitt Studio

Finally I add in mini trees and battery operated strings of lights.

home for the holidays - set up a sweet table | Lorrie Everitt Studio

Guests may think that your sweet table is too pretty to eat so make sure that you tell them it's okay to help themselves!


home for the holidays - set up a sweet table | Lorrie Everitt Studio


Sweet DIY: donut display board

Monday, November 20, 2017

sweet DIY - donut display board for the holidays and beyond | Lorrie Everitt Studio

I have been waiting for a reason to create a large beautiful donut wall. The problem is that I am not a wedding or party planner and I did not host any large parties this year. I am planning to do some holiday entertaining and I thought that this might be a great opportunity for me to put my own twist on the donut wall concept that is a little more holiday entertaining at home friendly.

sweet DIY - donut display board for the holidays and beyond | Lorrie Everitt Studio

 So I came up with the idea of turning these wood market trays into donut display boards. They will hold a dozen mini or regular sized donuts. You can replenish the donuts during the party to keep it looking full. And the trays are not huge so you can easily store them after the event and reuse them again.

sweet DIY - donut display board for the holidays and beyond | Lorrie Everitt Studio

 I painted this donut display board white and added gold details to the end of the the wood pegs. Learzi from Autumn Grey Designs added the gold hand lettering and the adorable mini donuts were made by Macaronz

sweet DIY - display board for donuts and cookies | Lorrie Everitt Studio

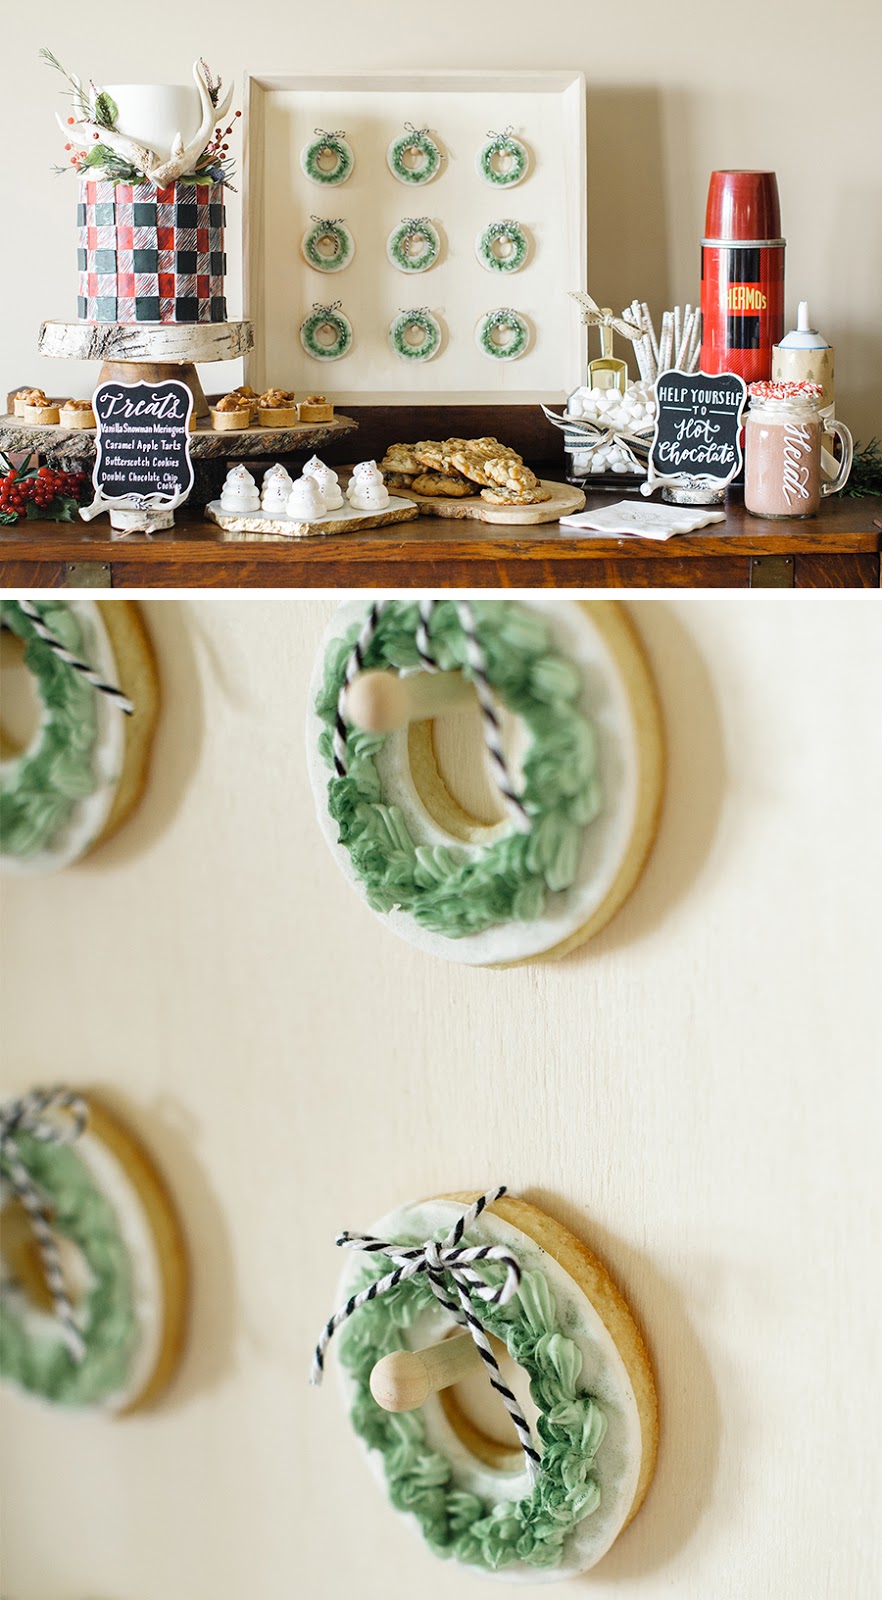
 My donut display board is also perfect for displaying decorative cookies with a hole.

sweet DIY - display board for donuts and cookies | Lorrie Everitt Studio

sweet DIY - display board for donuts and cookies | Lorrie Everitt Studio

Caitlyn from Cakelaine created the festive wreath cookies that were displayed above as well as all of the cakes and sweet treats for our holiday themed party.

Here's how to make these donut display boards yourself:

sweet DIY - donut display board for the holidays and beyond | Lorrie Everitt Studio

 1. Gather your supplies: Wood market tray, small wood pegs, kraft paper to work out spacing, ruler, pencil, drill, paint (optional).

2. Use kraft paper to figure out spacing for the holes that you need to drill into the tray. Make sure that you leave enough space around the donuts. Centre the kraft paper on the wood tray and mark where to drill with your pencil. 

3. Select a drill bit that is the same size as the wood pegs. You want the holes to be tight so you will not require glue. Drill holes in the wood tray


sweet DIY - donut display board for the holidays and beyond | Lorrie Everitt Studio


4. Place wood pegs in the holes. Paint if desired. 

sweet DIY - donut display board for the holidays and beyond | Lorrie Everitt Studio


Tip: You can prop the board up against a wall. Or, if you want the display board stand on it's own, I suggest that you super glue a large square vase to the back of the tray. 


If you make one of these for your own party I'd love to see it! Use hashtag #lorrieeverittinspire and follow me on Instagram for more holiday diy inspiration. 


Photo credits:

Donut display set up:

photography  Janet KwanPhotography 
mini donuts Macaronz 
hand lettering  Autumn Grey Designs 
greenery  Flower Treasures      
packaging products Creative Bag
entertaining products Weddingstar
creative direction Lorrie Everitt

Cookie display setup:

photography  Heidi Lau Photography 
hand lettering  Love Lettering   
florals Flowerly 
cake and sweets  Cakelaine   
packaging supplies  Creative Bag  
entertaining supplies Weddingstar
creative direction  Lorrie Everitt  
& the handcrafted artisans:


sweet DIY - display board for donuts and cookies | Lorrie Everitt Studio