Showing posts with label baking. Show all posts

You can do this - painted macarons and chocolate candy sweets

Tuesday, March 27, 2018

diy sweet ideas for entertaining and favors - painted macarons and chocolate candy sweets | Lorrie Everitt Studio

I am so excited to share two of my favourite DIY edible projects with you today. 

Not everyone has the time (or the skills) to make all of the pretty edible sweets that we see on Instagram. Taking a cookie decorating workshop has been at the top of my "wish list" for a while. For now, I am happy to just add hand painted details to pre-made macarons and create these simple candy treats.

diy sweet ideas for entertaining and favors - painted macarons | Lorrie Everitt Studio

diy sweet ideas for entertaining and favors - painted macarons  | Lorrie Everitt Studio

My Easter themed hand painted macarons are very easy to create using vodka, gel food colouring and of course pre-made macarons. My macarons came from Macaronz. I should point out that the colours of the macarons were more important to me for this project than the flavours.

diy sweet ideas for entertaining and favors - painted macarons  | Lorrie Everitt Studio

Here's the supplies that you'll need to paint on macarons: vodka, gel food colouring, paint brushes for baked goods and a small paint palette.

1. Painting with gel food colouring and vodka is very much like working with watercolour paints. Add a small amount the gel food colours into the paint palette and water it down using just a little vodka. The more vodka you add the more "watered down" the colour will become.

2. Paint your design using the food safe paint brushes on the macarons. And that's it!

Pretty simple right?  You can use my examples as inspiration to make these yourself or come up with your own designs. 

Tip: Get a couple of extra macarons to practice on first. Practice with different paint brushes and test your colours. You can just eat the test samples so it's a win/win ;)

Note: The vodka paint does not make the macaron soggy and it does not change the taste of the macaron. From everything that I have been able to research on this technique, the vodka evaporates so it's safe to give these to children. 

diy sweet ideas for entertaining and favors - painted macarons | Lorrie Everitt Studio

My Easter themed macarons included a chick, bunny, and whimsical decorated egg and carrot patterns.

diy sweet ideas for entertaining and favors - painted macarons  | Lorrie Everitt Studio

diy sweet ideas for entertaining and favors - painted macarons | Lorrie Everitt Studio

If you want to use these painted macarons as party favours head over to this blog post for packaging ideas.

diy sweet ideas for entertaining and favors -  chocolate candy sweets | Lorrie Everitt Studio

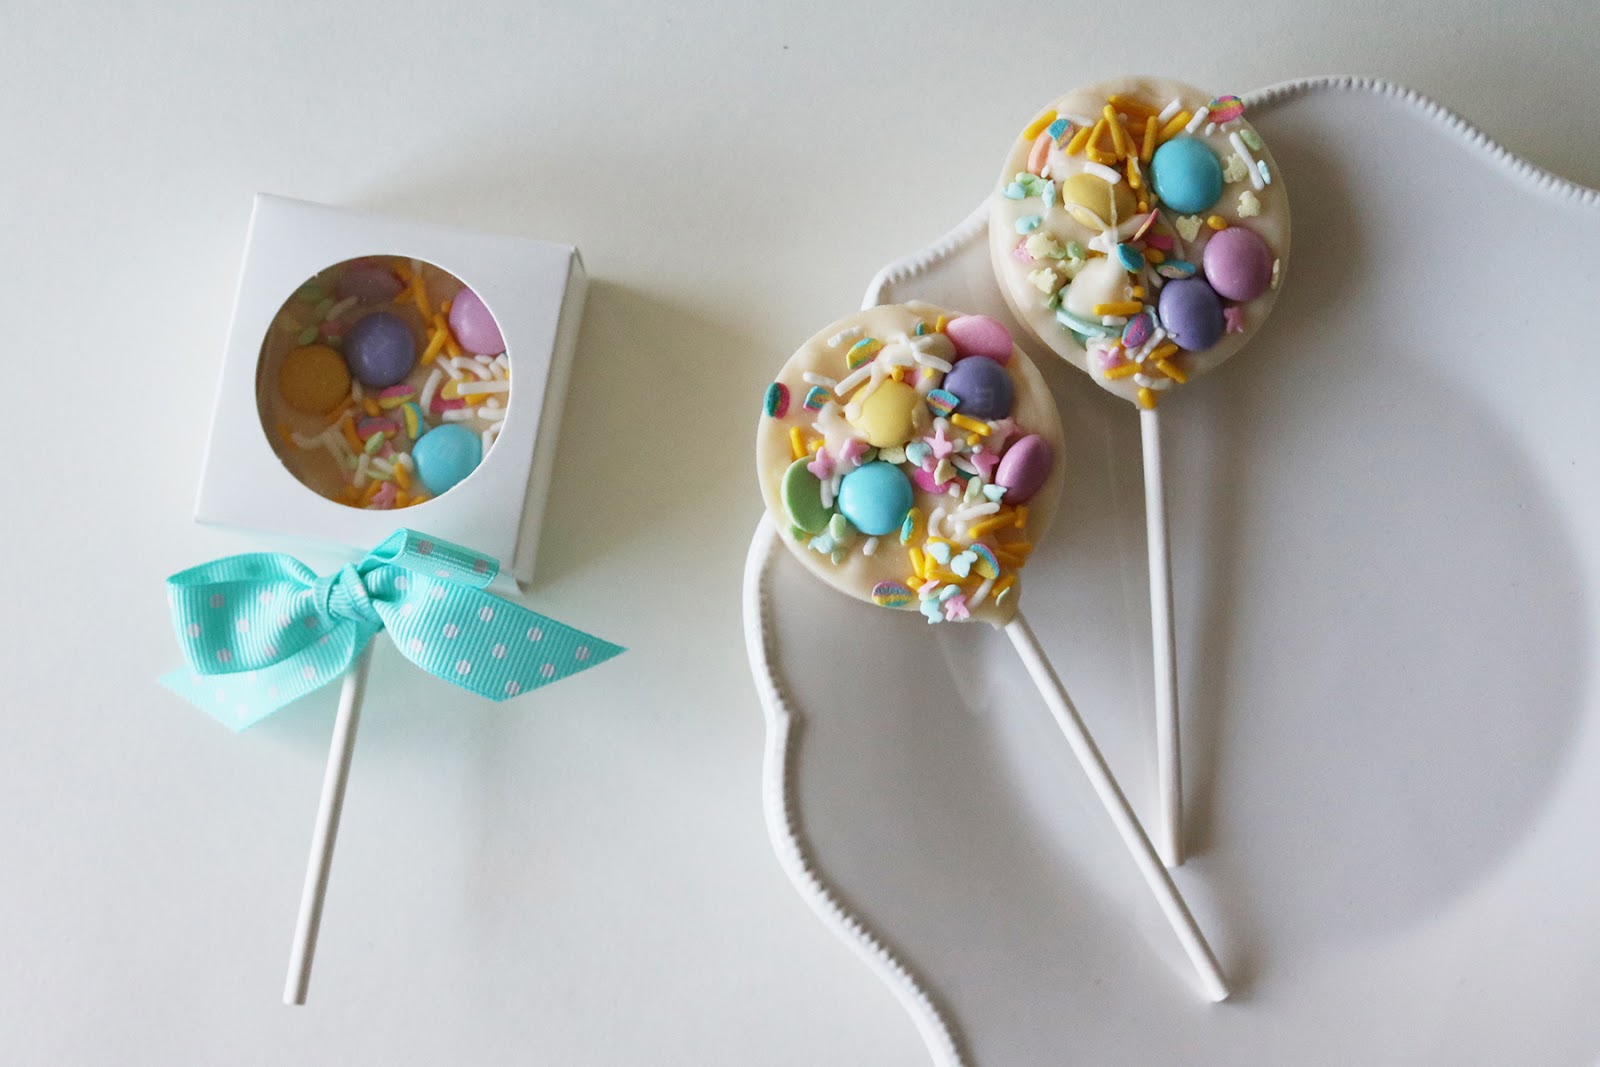
I love candy melts and they are a basic baking supply that I stock in my pantry all year round. I used vanilla chocolate candy melts in lollipop molds to create these pretty and easy Easter theme candy treats.

diy sweet ideas for entertaining and favors - chocolate candy sweets | Lorrie Everitt Studio

Here's the supplies that you'll need : lollipop candy mold, lollipop sticks, (vanilla) candy melts, chocolate M&Ms, assorted candy sprinkles, microwave safe containers.

1. Place the lollipop sticks in the candy molds. 

2. Melt the candy melts as per the instructions on the package. 

3. Pour the melted candy into the candy mold.

4. Working quickly before the melted candy hardens in the molds add sprinkles and M&M chocolate candies to decorate.

5. Allow to completely harden for an hour. Pop them from the molds and you are done.


diy sweet ideas for entertaining and favors - chocolate candy sweets | Lorrie Everitt Studio

I think that these would make wonderful party favours and you can find more information on how to package these in this blog post.

diy sweet ideas for entertaining and favors - chocolate candy sweets | Lorrie Everitt Studio

I like to display sweets on sticks in jars filled with candies or coarse sugar. This display idea works whether you are serving these (unpackaged) treats on a sweet table or setting them up as a favour/take away.

diy sweet ideas for entertaining and favors - chocolate candy sweets | Lorrie Everitt Studio

Tip: I use paper straws that have been cut to different heights in the jar to hold the lollipop sticks in place and add to the visual presentation.

diy sweet ideas for entertaining and favors - chocolate candy sweets | Lorrie Everitt Studio

Have a sweet (long) weekend!

diy sweet ideas for entertaining and favors - painted macarons and chocolate candy sweets | Lorrie Everitt Studio

Cookie Cutter Projects for the holidays - bake, craft and wrap

Thursday, December 7, 2017


Eating cookies and baking cookies are two of my favourite Christmas traditions. I had a few custom cookie cutters made to match the Sweet Life Collection that I designed for Creative Bag. The metal cookie cutters are great for baking, crafting and gift wrapping projects.

Mary from Emma's Sweets made the most adorable custom cookies using the cookie cutters so I could feature them in a holiday themed styled shoot. She decorated the cookies two ways - in full colour and in white with gold details. The white and gold cookies were so unique and inspired me to create my oven baked clay ornaments.


And as you know I love to add special touches to my gift wrapping so the cookie cutters made their way into my holiday gift wrapping as gift toppers.


My oven baked clay ornaments can also be used as gift toppers. 


Here's how I created my oven baked cookie ornaments:


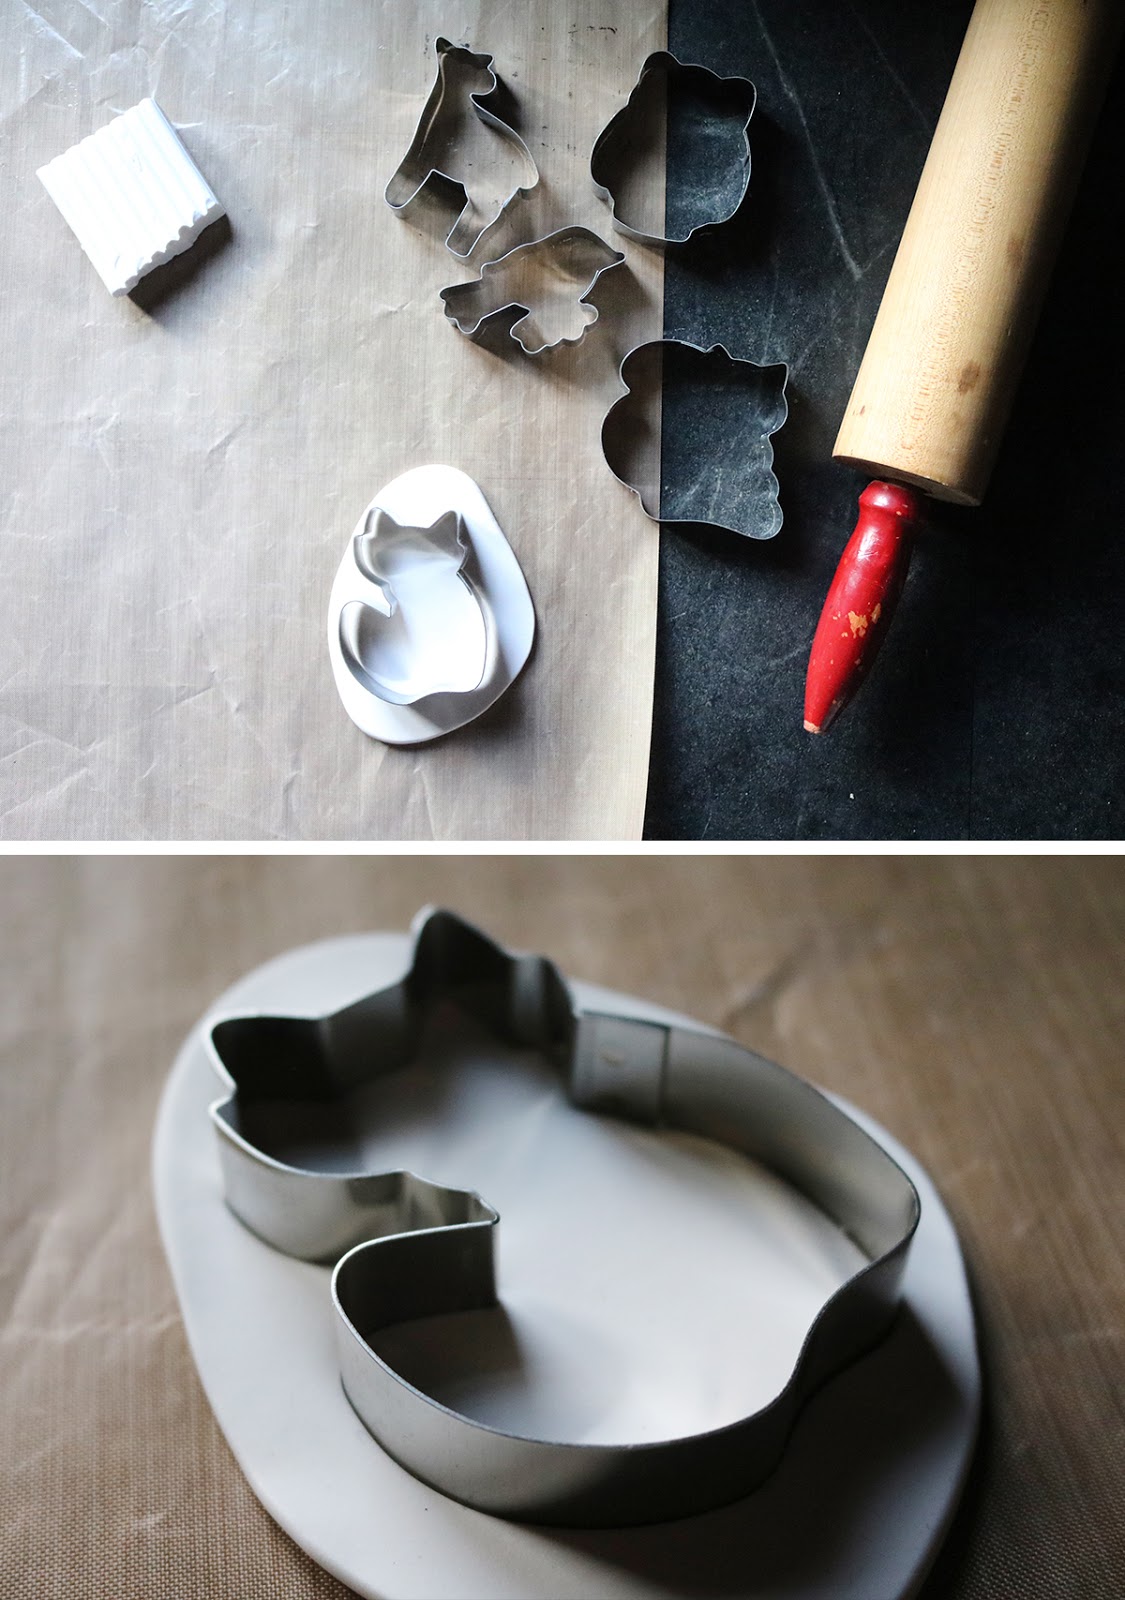
Gather your supplies: oven baked clay, cookie cutters, rolling pin, wire, wire cutters, bamboo skewer, paint, paint brush, twine. You'll also need a baking sheet, parchment paper and oven to bake the clay.

1. Soften clay and roll out oven baked clay just as you would regular cookie dough.
2. Cut the cookie shapes and set aside.
3. Wire loops will be used to hang the ornaments. Cut pieces of wire and bend as shown above. 
4. Using the bamboo skewer, make a hole in the top of the clay shapes and insert the wire loop.
5. Place the clay shapes on a baking sheet lined with parchment paper and bake as per the instructions on the oven baked clay package.


6. Paint the ornaments with as much or little colour as you want. I gave my ornaments a contemporary look by just adding a few gold details. I used my cookie pattern as a guide. 
7. Add twine, baker's twine, yarn or leather string to hang. 

Note: If you don't want to use wire loops to hang the ornaments, add a small hole in the clay before baking using the bamboo skewer.

Sources for custom cookie cutters: owl, deer, squirrelbird, fox.


Wishing you a sweet holiday season and I hope that there are lots of cookies!