Showing posts with label party favors. Show all posts

watercolour pencil experiment on fabric bags

Friday, January 15, 2016


If you have been following me on Instagram you might have seen the watercolour drawings that I created during our family vacation in St. Thomas last month. Next to my camera, I almost always pack a small pad of watercolour paper, some watercolour pencils and a few paint brushes when I travel. 

This week I though that it would be fun to experiment with my watercolour pencils to see if they would work on these fabric favour bags


I knew that if I was planning to make dozens of favour bags that I would have to come up with some simple graphics that would be easy to recreate on each bag. I would have to come up with something quite different from these watercolour paintings that I created on my holidays.


And this is what I came up with!


 Of course, I had to add some text to one of my designs. I think these bags would be adorable for a Valentine's day gift, a wedding favour, a baby shower or a crafting party. 

What do you think? Want to try to make these yourself? Here's what I did to create my abstract watercolour "blob" ...


Gather your supplies: Derwent watercolour pencils, cotton fabric drawstring bags, assorted watercolour paint brushes, paint palette, two containers to hold water, a pencil sharpener and some paper towels.


Top left  I inserted a small board into my bag so that the watercolour paint didn't soak through to the back of the bag. Mix up your watercolours in your mixing tray using the pencil crayon colours of your choice. I used (39) turquoise blue, (40) turquoise green, (44) water green and (48) may green.

Top middle and right  Starting on the left side of the bag, I painted a single stripe of turquoise blue using a wide flat paint brush. While the first stripe was still wet I painted a second stripe using turquoise green that overlapped the first stripe slightly ... 

Bottom left and middle then I continued to add two more stripes using water green and may green, again overlapped each one so that the colours blended together. 

Bottom right  Once the paint dried I was able to add extra depth to each colour by drawing directly onto the stripes using wet pencils. I blended the pencil strokes using additional watercolour paint and my paint brush until I achieve the look I wanted.


Tip: If you want to add a word over your watercolour "blob" like I did with the pink love bag, it is best to wait until the background is completely dry before adding more paint for the lettering. 


I hope that I've inspired you to make something this weekend!


Backyard entertaining inspiration using my free printables

Monday, May 26, 2014

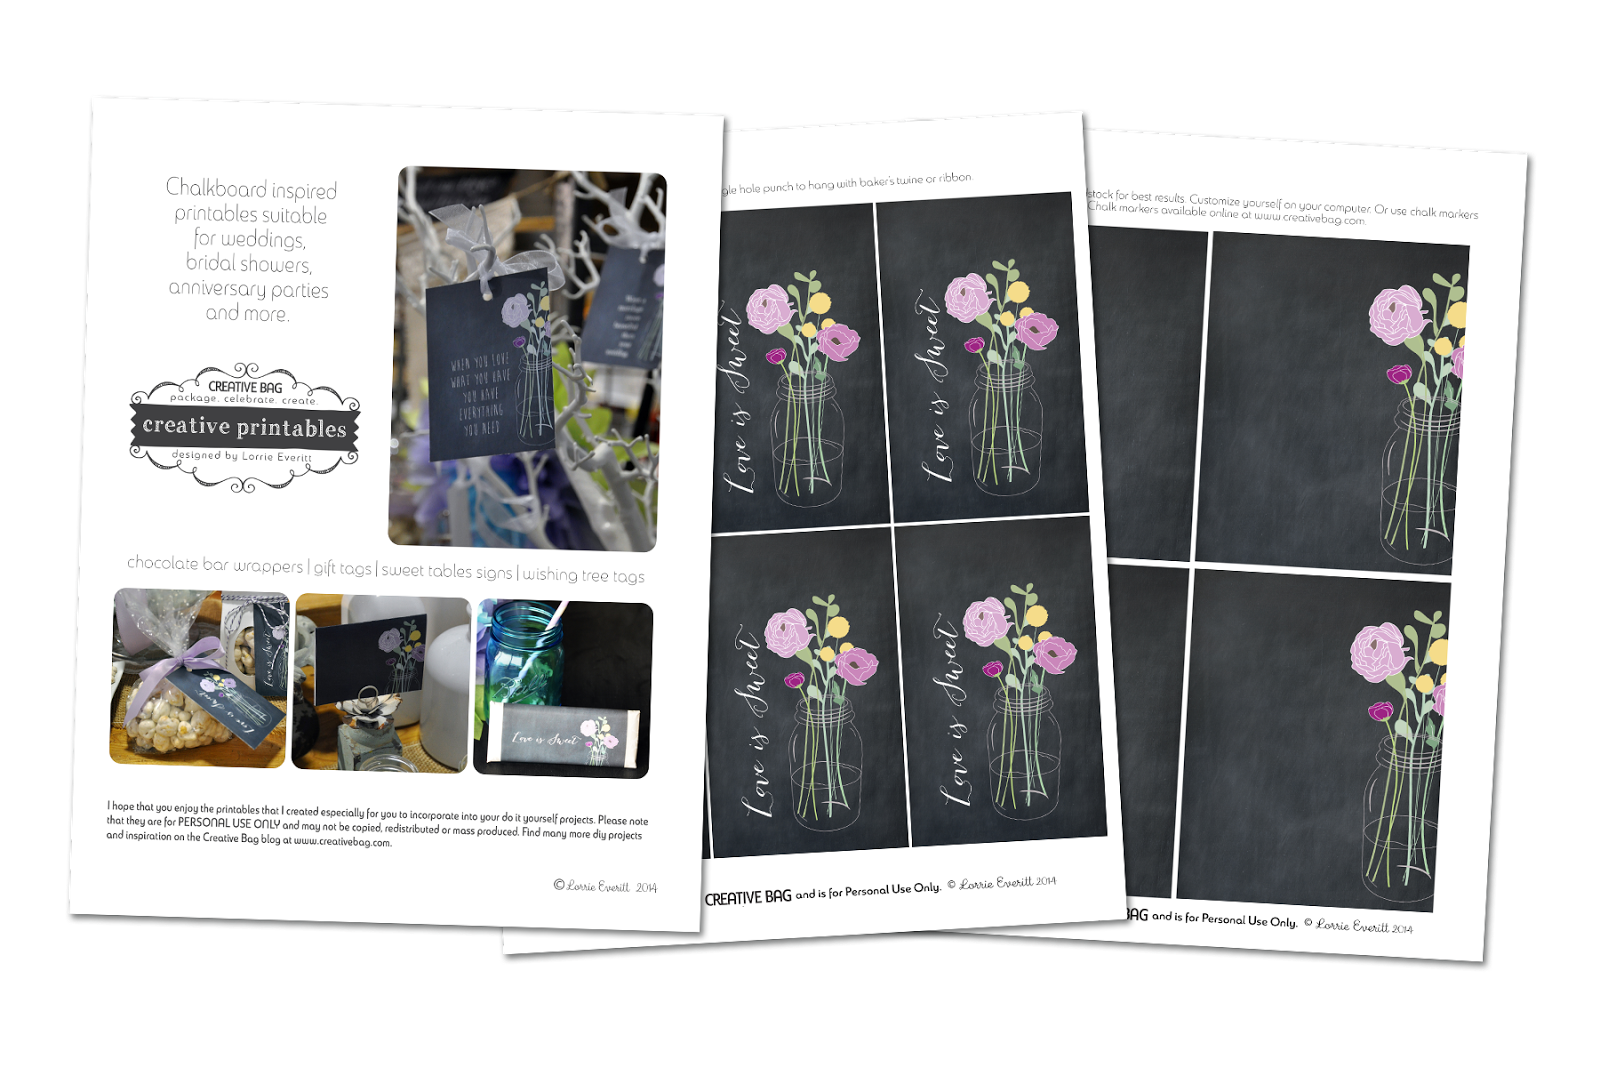
free printables for paper bows and chalkboard inspired gift tags from Lorrie Everitt

Summer is fast approaching and my family has been spending a lot of time over the past few weeks getting the backyard ready for summer entertaining. The weather was so beautiful this past weekend and I was able to take advantage of the patio space to shot a few pictures of the {free} printables that I recently created for Creative Bag. I can totally see using these printable for an outdoor gathering this summer. I designed a printable for the paper bows in yellow a little while ago for Weddingbells magazine. You can find the paper bow bunting project online and in the Spring/Summer 2014 Weddingbells magazine which is still on news stands. At the end of this post I will give you the purple paper bow printable. 

free printables for paper bows and chalkboard inspired gift tags from Lorrie Everitt

I made lemon-lime water and served it in mason jars for a casual afternoon gathering in the backyard. I love these light purple paper straws and they match the purple baker's twine that I used to tie the chalkboard circles to the glasses. The chalkboard circles are sold in kits to make bunting but I think that they work great as drink labels.

Plain white paper bags were filled with kettle chips. I thought that this would look nicer than setting out a bowl of chips. Everyone would get a bag of their own and the clothespins at the top
would keep them fresher. My printable tag could be personalized with each guest's name on the flip side. 

free printables for paper bows and chalkboard inspired gift tags from Lorrie Everitt


You can find the download for my chalkboard mason jar flowers on the Creative Bag blog post here.


ranunculus photos by Lorrie Everitt

I fell in love with ranunculus after seeing them in so many wedding photos on Pinterest and had to plant some in containers in our backyard. Here's a few of the pictures that I shot of my planters this weekend.

ranunculus photos by Lorrie Everitt

These flowers come in so many beautiful colours ... it was difficult to pick just one or two so I bought them all!

ranunculus photos by Lorrie Everitt


Gerber daisy have been a favourite of mine since I was a young girl. My bridesmaids carried long stemmed peach coloured gerber daisies as their bouquets almost 30 years ago. I filled two large containers with gerber daisies in our backyard this summer ...  

gerber daisy photos by Lorrie Everitt

Okay summer ... I'm ready! Bring it on. 

free printables for paper bows and chalkboard inspired gift tags from Lorrie Everitt


And now here is the download for the pretty paper bows!


Yummy candy kabobs you can create yourself for party treats or favors

Friday, October 25, 2013

create candy kabobs with or for the kids | Lorrie Everitt Studio

Looking for a fun little treat to make with or for your kids? How about some candy kabobs? 

I created these using striped paper straws, bamboo skewers and candies that I picked up at the Dollar Store and The Bulk Barn. They are super easy to make so little (and big) helpers will want to get in on the action. Of course your helpers will want to eat up any left over candies so clean up will be a breeze!

Here's how I made mine:
tutorial: create easy candy kabobs with or for the kids | Lorrie Everitt Studio
Gather your supplies: bamboo skewers with ball end, paper straws, assorted soft candies.

Step one -  Cut the paper straws to the length you want to cover the bamboo skewer keeping in mine that you can only add candy to the exposed bamboo skewer. If you don't want to add a lot of candies like mine ... cut your straws into 3" pieces.

Step two - I folded two pieces of ribbon candy as shown above. I added them one piece at a time by inserting the skewer into the middle of the folded candy.

Step three - I finished by adding two candies at the top to completely cover the bamboo skewer.

Make as many of these as you please and present them in a glass container so that everyone can see the striped straws. 

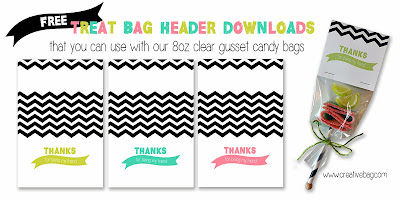
If you are thinking about using these as party favors for guests to take home ... you can find some packaging ideas and my free download for candy bag headers on the Creative Bag Blog in this post and this post.

free download and packaging ideas for candy kabobs | Lorrie Everitt Studio


Do you love Pinterest as much as I do? Interested in winning a prize package of diy products to create a bunch of canvas gift bags for Christmas that I have personally put together? 
Then check out this post for all of the details! I'm hosting a "Pin It To Win" contest over at Creative Bag this week.
Pin it to Win contest at Creative Bag

You have until end of the day on October 27th, 2013 to enter.

Good luck and I hope that you have a creative weekend!

push pop cupcakes for a Valentine party

Wednesday, January 11, 2012

I was so excited when I saw the push pop containers arrive at Creative Bag last week. Have you seen them yet? Apparently they are the next "big" thing since cupcakes! My daughters and I had fun making mini cupcakes to fill inside them on the weekend and I created a tutorial to show you how to make them for the Creative Bag blog this week that you can see here.

Here's a close up of what the container looks like ... can't you just see these at a birthday party, wedding or any celebration involving food!!
To display my push pops I put a piece of styrofoam in a container and filled the container with sugar. I carefully punched holes in the styrofoam with a screw driver keeping in mind where I wanted to position the push pops. Then I added the push pops.


I posted earlier that I am now writing for the Creative Bag blog too. You can view the blog here. If you like my personal blog, I hope that you will follow me at the Creative Bag blog too ... I have some free downloads there (I'll get them on this blog soon too!) and I plan to do some giveaways, contests and lots more!