

Hello there! Sorry I have not been posting as often as normal ... I've been "playing" for the past few weeks and I honestly have not had a lot of time to be on my computer ... but I'm back now and I thought that I'd share with you one of the projects that I created on the weekend. We are going to a Euchre/Halloween party at the end of the month and I've been wanting to make these cute little "what's trump" cubes for a while. I got the original idea from my friend Mary ... I'm not sure where she got the idea from but she had someone paint the cubes for her ... I'm reusing an old deck of cards that was missing some cards and sitting in my "junk" box.

So here's what you will need - playing cards (6 cards for each cube), wooden cube (I used 1 3/4" cubes but you can adjust the size as long as it isn't bigger than the cards), mod podge, a sponge brush, sandpaper or nail file, paper cutter or scissors, and a piece of acetate.
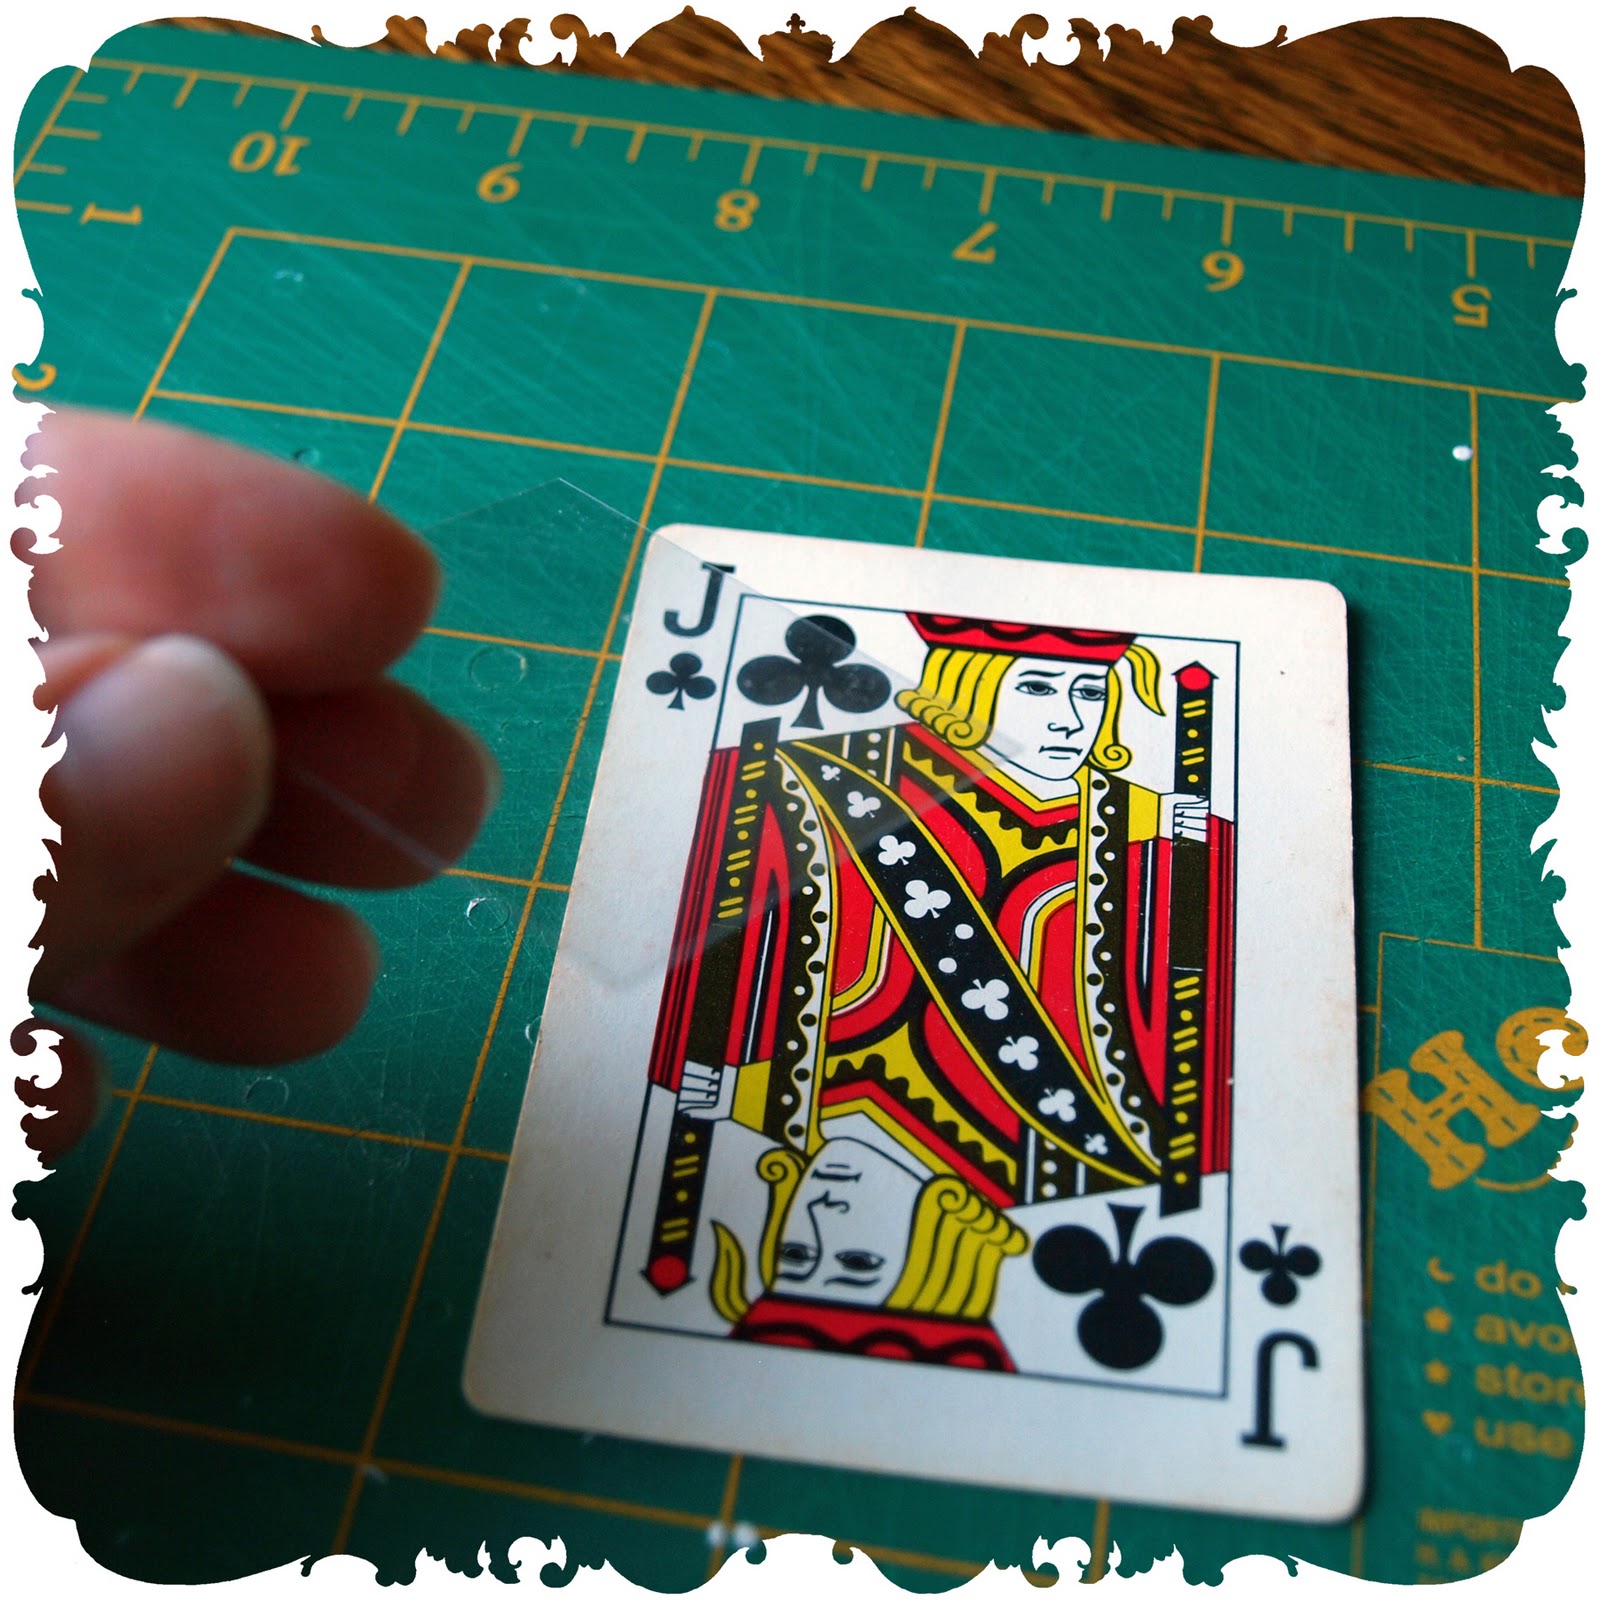
I started by selecting 4 cards from the deck - in this case, I choose the four Jacks. Then I cut the piece of acetate to the size of my wooden cube ... 1 3/4" by 1 3/4". I was then able to use the acetate over the cards to figure out how I wanted to cut out each card so that the suit was showing in an eye catching way. If you don't have a piece of acetate you could always cut a square out of the middle of a piece of paper and move
the paper around to show where to crop the card. I cut each of the four Jacks out using my paper cutter. If you don't have a paper cutter you can trace around the acetate square like a template and cut the cards with scissors.

I liked the red and white design on this set of playing cards so I cut the last two cards for the sides of the cube out of cards that I didn't want to keep. If you are not crazy about the design on the back of your playing cards ... use some nice scrapbooking paper for a totally different look!

I glue two sides of the cubes at a time by applying the mod podge directly to the side of the wood block. After gluing the first card down, flip the cube over and paste the next card on the opposite side. I did both of the red suits first in this example.

You can set a couple of books on top of the cube to keep the top card flat while drying if you wish.
After about 10 minutes the glue should be dry. Using a fine nail file or sanding paper, sand all of the edges of cards that you have just glued down so that you trim the paper to exactly the size of the cube. You should have nice clean edges at this point. Continue to glue down the cards on the next two "opposite" sides ... I glued down the two black cards next.

After the glue has dried on the third and fouth cards, sand all of the edges. Now you are ready to
glue down the last two cards on the last two opposite sides ... repeat what we did before and finish by sanding all of the edges!

And now we are done! Wasn't that super easy ... once you've used up all of your face cards and aces you can experiment with the other cards in the deck ... if you didn't cut up too many of them to use on the sides. I think that these would make great gifts for anyone that you know who likes to play euchre!
I've got lots of other great things that I've been working on and will share with you shortly.
Oh and by the way, the reason why I've been busy is because I've making samples of some really cool projects to teach at Scrapbooking Queens in Mississauga ... you can check out my class dates here ... my first class is another game that I created for my daughter's 6th birthday (she will be 11 tomorrow!) ... here's a sneak peak of what I call my "friend"ship game ...


those are cool, love them thanks for sharing, hope to see you soon
ReplyDelete:)
Love these!! SO very fun! That is so neat that you are going to be teaching classes... they are going to be great! Happy Birthday to your dear daughter! :)
ReplyDeleteLove this project! Wish I could take your class. I'm really curious about your Friendship game. My daughter is turning 6 at the end of the month. Hope your daughter had a wonderful birthday =)
ReplyDelete