

Chalkboard + Love = Wedding {bunting}
Planning a wedding and looking for some diy ideas to personalize your special day? Here's a fun little project that you can make in an afternoon. Turn plain canvas bunting into a chalkboard bunting using Martha Stewart's chalkboard paint. Here's how I created mine ...

Gather your supplies: 3 canvas or linen banners, Martha Stewart’sblack multi-surface chalkboard acrylic craft paint, foam brush, chalk,
chalkboard marker, white tracing paper, ribbon or twine, paint brush optional.
Note: my template download was created to fit a large triangle canvas bunting shape - you may need to adjust the size of the template to fit your canvas bunting.
Step 1. Paint both sides of each canvas
banner with two or three coats of black chalkboard paint. Allow to dry
completely at least 1 hour between coats.
Step 2. Allow paint to cure completely
at least 24 hours. Condition chalkboard canvas by lightly rubbing chalk over the surface and wipe
with a soft, dry cloth to remove chalk.
Step 3. Download file for type and
print out on regular paper. Cut out triangular shapes and place the type
templates over each banner. Place tracing paper between the template and
canvas banner. Trace the lettering with a pencil.
Step 4. Use a chalk marker to retrace
the lettering on each banner. Chalk markers are available in a variety of
different sizes. I wanted my chalk lettering to look like calligraphy so I used used a paint brush to apply the liquid chalk. Simply create a
“puddle” of chalk liquid by pressing down on the chalkmarker on a smooth
surface. You can see my tutorial to do this here.
Step 5. Tie ribbon or twine of your choice to each
triangle to create the bunting.
The reason that I like to use chalk
markers is that it can be removed with water if you make a mistake while you are working. Once the ink is dry it will not rub off when you touch it.
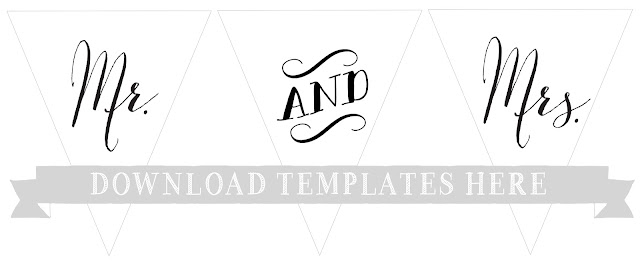
Download the template here.
Looking for more diy bunting ideas for your wedding? Check out this post from Weddingbells! It features four more of my diy bunting projects.

Maybe you are not planning a wedding but love the idea of chalkboard bunting? Here's another idea for the chalkboard bunting!

I designed this bunting to use in a photograph with my daughters for our holiday cards. It is going to be hanging on the fireplace mantle in our family room very soon!
I will share the template for the words "twenty thirteen" in my next post if you are interested.


