

Don't you just love wrap bead bracelets?! I purchased one while I was in Barcelona last fall and I wear it all of the time. I can wear it alone and I layer it with other bracelets.
After purchasing some small turquoise beads on sale at Michaels the other week, I decided to try my hand at making my own wrap bracelets. Here's how I made mine:

My supplies: small beads (keep in mine the smaller the bead the more beads you will need), two sizes of beading thread (I purchased the cording shown at Michaels and used the two threads at the top), 2 collapsible eye beading needles, bead stringing glue, small buttons (mine were antique), scissors, two clips and a board to work on.

You will need two different thickness of beading thread. The thicker thread will be used as the base of the bracelet and the thinner thread will be used to add the beads to the base.
Note: You are going to pass the thinner thread through each bead twice so it needs to be very thin but strong.
I used my original wrap bracelet as a guide for how long to cut the threads.
My original bracelet wraps around my wrist twice and is 15" long.
So I cut my thicker thread to 50" long and the thinner thread to 92".

First step is to add a button to the thicker (base) thread. Fold the thread in half, add the button and add a knot as shown. Note: the button should be able to lay flat - knot the thread so the button can move a little.

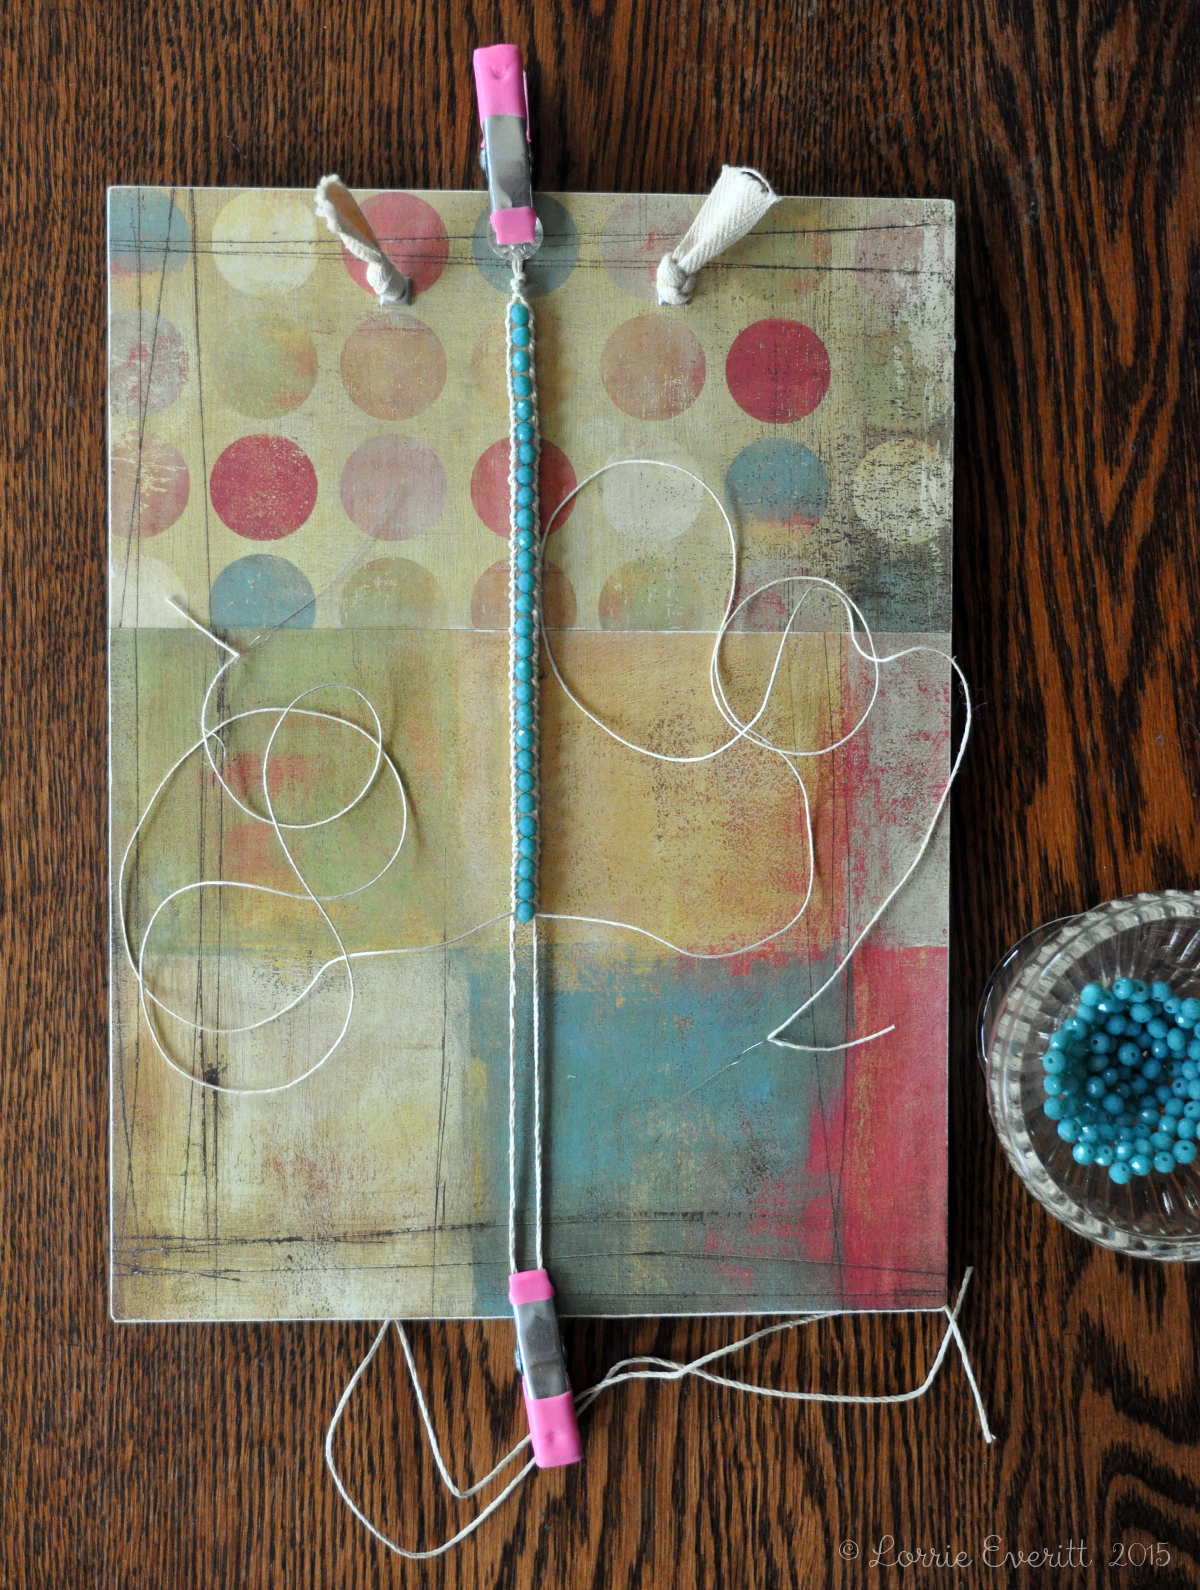
I created this crafting board so it could hang up for easy storage in my studio. It's basically a 9"x12" masonite board covered in scrapbooking paper. I punched two holes using the crop a dile tool and added a cotton ribbon for hanging. Use two clips to attach the thread base to the board as shown. You need to create a space between the two base threads so you can easily add the beads.
Once the thread base is secure on the board, fold the thinner beading thread in half and add it to the thread base just below the knot. Add a collapsible beading needle to both ends of the beading thread.
Tip: If you don't have a board like mine use a clipboard and one clip.

And now the fun begins ... adding the beads!
top left: Tie a knot with the beading thread to keep it in place on the base threads.
top right: Wrap the ends of the beading threads around each base thread twice.
middle left: Add a bead to the bead thread on the left as shown.
middle right: Take the bead thread on the right and insert it into the same bead as shown.
bottom left: Wrap the two bead threads around both base threads again - twice.
bottom right: Add another bead using same guidelines as before.
You will continue to add beads (remember to wrap bead threads twice before adding next bead) until you are close to the bottom of the board.

Here's a close up for reference.

My finished bracelet will be longer than the length of my board so I had to re position the base threads. I wanted my beaded area to be 12.5" long. Keep checking the length of your bracelet so that you will know when to stop.
FYI: I used 55 beads on my bracelet. The bracelet that I purchased had 80 smaller beads.

Once you are satisfied with the bead length, you are ready to finish the bracelet.
top left: After the last bead is in place, wrap the bead threads around the base threads two last times.
top right: Knot the beading threads around the base threads as shown. Cut the beading threads and add bead string glue to the ends to prevent fraying.
middle left: Tie a knot with the based threads directly over the beading thread knot.
middle right: Knot the base threads once more to create a "button hole". Make sure that the button hole is large enough for your button to go through.
bottom left: Create one additional knot to finish the bracelet as shown. Cut the threads close to the knot and add a little bead string glue to prevent fraying.
bottom right: Your bracelet is ready to wear!

Here's another look at my finished bracelets.
I'm also so excited to be on Instagram now! You can find me here! I'm really new to Instagram and still looking for other creative people to follow for inspiration. Leave me a comment if you have any suggestions.


No Comments Yet, Leave Yours!