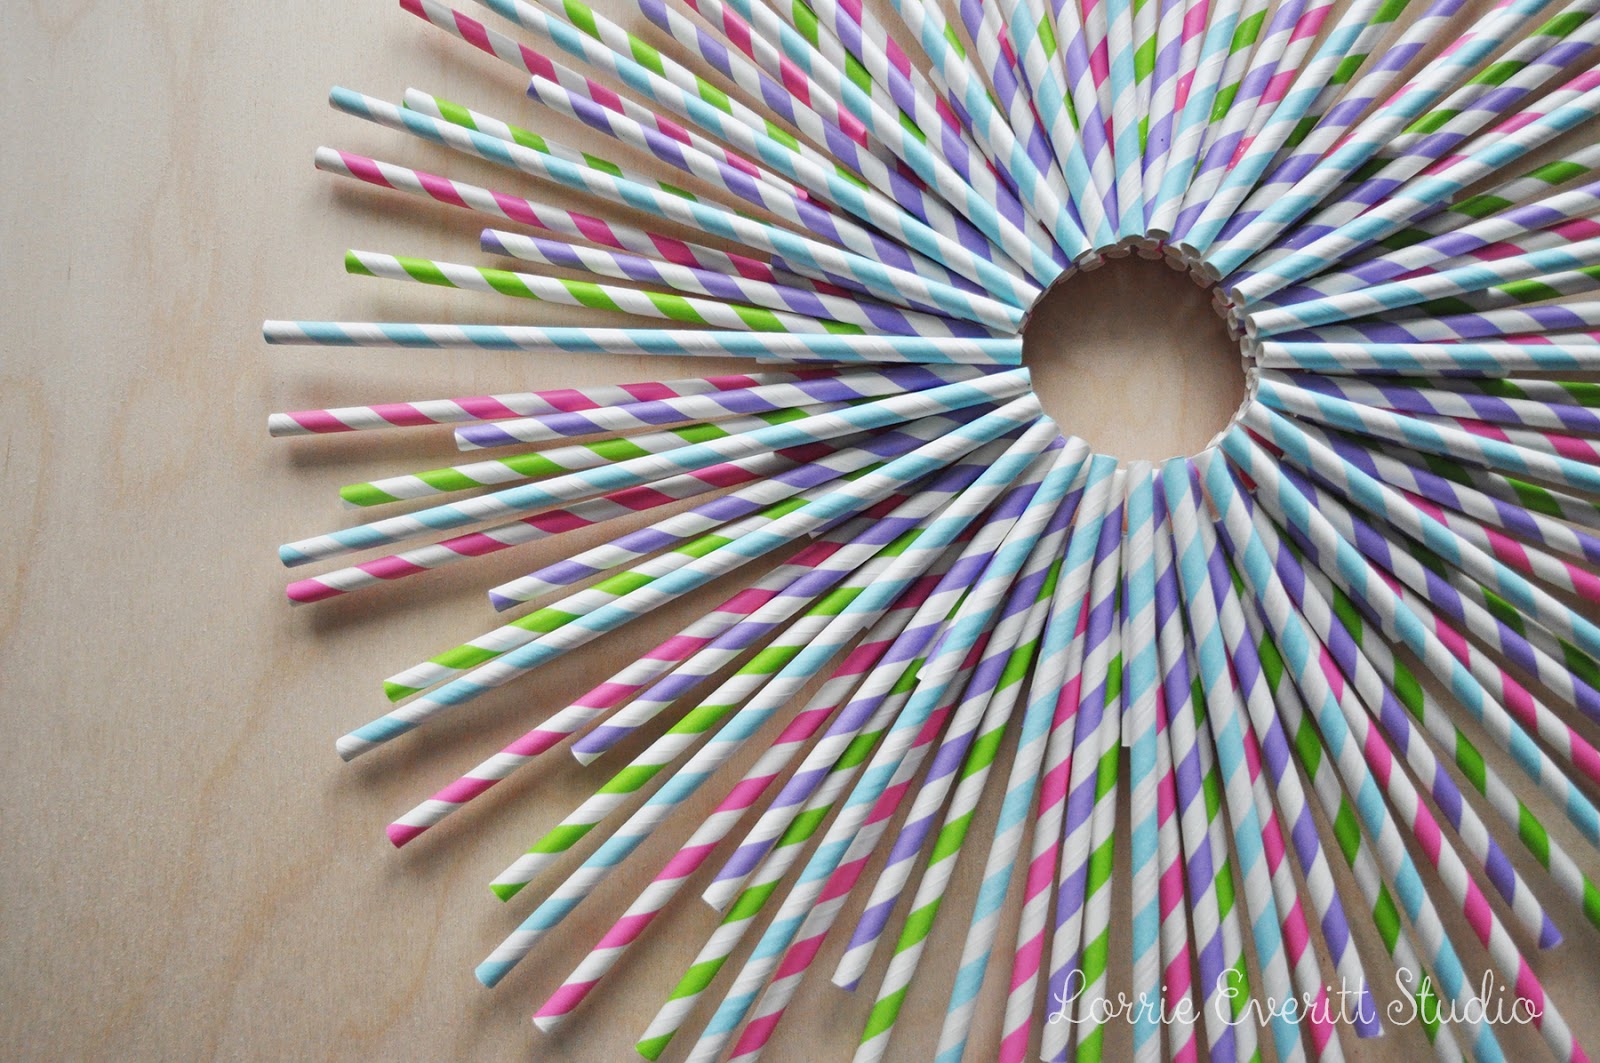
Today I thought that I'd share with you a quickie tutorial that you can make in an evening with the kids. Paper straws are one of my favourite party and crafting supplies because they come in so many great colours and patterns. I've been making these wreaths for a few years and they may look difficult to create but they really are not. I always make them using all of the same colours of straws but for this tutorial, I've broken down the different steps and layers by using 4 different colours of straws so it's easier to see and explain.
First you will need to gather all of your supplies.
1. ninety-six paper straws (of course, I purchased my paper straws at Creative Bag)
2. my template (download it here and use it to cut out a wreath form or to use as a guide)
3. a six inch diameter flat wreath form (like this one or make one from foamcore)
4. glue (I used a clear drying glue that is suitable for paper)
5. scissors
Step one. Print out the wreath template to use as a guide for your straws if you are using a premade flat wreath and tape it to the back of the wreath.
Optional Note: if you can't find a flat wreath base, use the template to cut your own.
Now you are ready to glue your first 24 straws (pink) to the flat base. I started by gluing down the first 4 straws as indicated above. Let them dry completely before continuing. Next you want to glue five straws in each of the four open spaces. Use the template to make sure that your straws are all spaced evenly to create a circle. Allow to dry completely before moving onto the next step.
Tip: You can add a large book on top of the straws to keep them flat while they dry if you want.
Step 2. Cut "1 off the ends of 24 (green) straws. You will not need the 1" pieces for this project but you can save them to make a paper straw garland. Glue the shorter (green) straws in between the (pink) straws as shown above. To keep the straws at the same distance from the centre - you may need to pinch the end of some of the straws if space is a little tight. Allow the straws to dry before going onto the next step.
Step 3. The next 24 straws are going to be cut down again but this time we will use both pieces of each straw. Cut 2" off twenty-four (purple) straws. You are going to glue the longer straws on top of the first layer of straws - you can see there is a purple straw in between, and on top of, the pink and green straws. The (purple) straws are positioned so they meet in the centre of the wreath just like the pink straws on the first layer. Allow these to dry.
Step 4. Glue the twenty-four 2" (purple) straws in between the longer (purple) straws on the second layer as shown above. Again, if the space is a little tight, you can pinch the end of any straws that you need in order to keep the spacing even. Allow to dry.
Step 5. This is our third and last layer of straws. This layer requires 24 uncut (blue) straws. They will be glued directly over the twenty-four 2" (purple) straws. Allow to dry. Remove the paper template from the back and attach a piece of twine to hang.
After looking at my finished wreath ... I kinda like the look of the different colours! I think that this would be sweet for a child's party.
I'm using paper straws in my holiday decorating (again) this year. I added a red and white striped wreath to a chalkboard piece that I made for the mantle in our family room.
My paper straw wreath project was featured on Rogers TV Daytime (Durham) show last week. You can see it here ...
If you make a paper straw wreath, I'd love to know what you did with it. Leave me a comment or a link to your project on your blog!


another awesome project!! Love this :) Merry Christmas
ReplyDelete