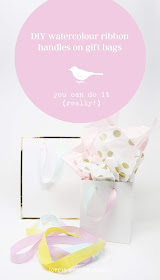
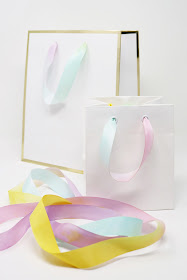
Let's get creative! Here's a sweet idea for making plain white gift bags a little more colourful by just changing out the ribbon handles.
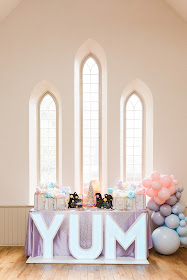
I recently had the pleasure of working with Gloria Vazquez-Abrams from Historia Wedding and Event Planning and the amazing team that she brought together for a styled shoot wedding. Gloria's pastel coloured theme was filled with so many whimsical details and as soon as I saw her mood boards I knew that I needed to find a way to work my DIY watercolour ribbons to the set up.
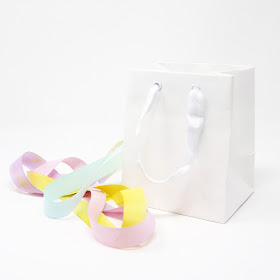
I removed the white ribbon handles on these white and gold foil edged gift bags and replaced them with the rainbow coloured ribbon.
Gloria filled the gift bags on this glorious sweet table with cotton candy. The colours in the cotton candy and gourmet chocolates are so much fun and I love the way that the ribbon handles on the gift bags add that little bit of extra colour pop to the overall set up.
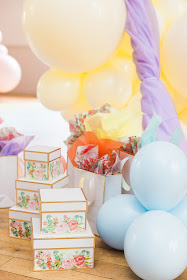
The rainbow ribbon handle gift bags were also used in another area of the set up. Gloria incorporated the gift bags and these gift boxes along with balloon, paper flower, drapery and vinyl floor decal installations to create a centre stage area for the Cirque Entertainment.
Interested in doing this for a wedding or party?
Here's a quickie tutorial to show you what I did and how to figure out how much painted ribbon you will need.
You will find my painted ribbon DIY tutorial here.
The ribbons that came on the gift bags can be removed by simply cutting the ribbon and pulling them through the holes from the inside of the bag. But I suggest that you remove at least one ribbon handle by untying the knots and removing the handle in one piece.
So as you can see above, I used the original ribbon handle to work out not only how long the ribbon needed to be for the gift bag but to also calculate how much ribbon I would need to paint so that I could change the ribbon on all of the gift bags I planned to use.
To add the rainbow ribbon to the gift bag I tied a knot on one end of the ribbon, feed it through both holes of the bag and then tied a knot on the other end of the ribbon to finish. Repeat on the other side of the bag.
My tip to make wrinkled ribbon smooth: Use a straight iron on a low temperature to easily iron out wrinkles.
Credits for Styled Shoot:
Photography by Samantha Ong Photography
Balloons by The Sweetest Thing Balloons
Draping and Vinyl Floor Decals by Finer Events
Paper Flower Décor by Floral Fantasy Studio
Tableware Rentals by Sweet Bee Tea Party
Linens, Chargers, Napkins and Chairs by Chair Decor
Invitations, Menu, Place Cards, 3D Animal by A Good Day Inc.
Packaging Supplies by Creative Bag
Chocolates by Stubbe Chocolate
Favours by Marie Genevieve
Cotton Candy by Bucket and Whisk
Custom Lighted Designs by Marquee Marc
Cirque Entertainment by Articus Productions
Tuxedo by Andrew's Formals
Dress by Papilio Boutique
Accessories by The Loved One
Hair and Makeup by Beyoutiful Brides







No comments:
Post a Comment