Are you ready for the holidays? The countdown is on! My cards are in the mail, I've started gift wrapping many of our gifts and I can't wait to start my holiday baking this weekend.
I take photos of my family all year round and for the past 21 years I have tried to incorporate a few of my favourite photos into my holiday crafting projects. Today I'm going to share with you a couple of the things that I did with my photos this year.
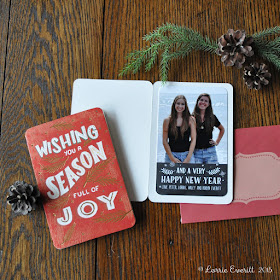
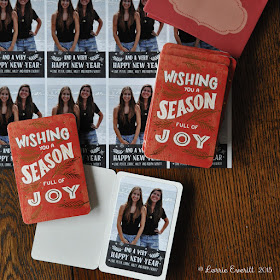
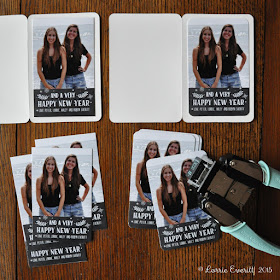
I shot photos of my daughters on the beach of Lake Erie this summer and I was originally planning to use one of the pictures on the front of our Christmas cards as I always do. But I ended up doing something a little different this year. I purchased these holiday cards and personalized them on the inside with my photos.
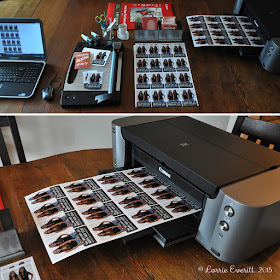
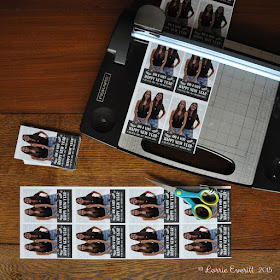
I cropped and re sized my photo to fit the inside of my cards and added a holiday message using Photoshop. I didn't have a lot of spare time to make my cards so I printed my photos at home on my Canon PIXMA Pro-100. I love my photo printer because the photos look like they were professionally printed and I know that the colours won't fade over time.
I set up my photos so I could print twelve at a time on 13"x19" sheets of photo paper. I cut the photos out using my large paper cutter. You could use scissors to trim your pictures but a paper cutter is quicker and your finished photos look more professional.
My premade Christmas cards had rounded corners so I used the Crop-a-dile corner chomper to round the corners on my photos as well. I really like this corner cropping tool because it allows me to crop four or five pieces of paper at a time. I use glue dots to attach my photos to the cards.

And there you go! I personalized 80 cards in just a couple of hours!
The other project that I wanted to show you are my holiday photo gift tags ...
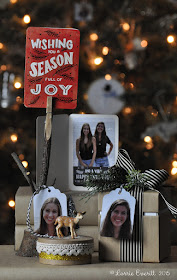
I've created these for my family gift for many years. I like to number the backs of my daughters' photo gift cards so they have to open their gifts in the order of the tags. It makes Christmas morning a little more fun as we watch them hunt for which present to open next.
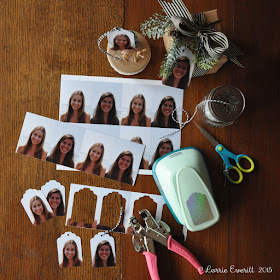
For this project I sized and cropped my photos in Photoshop to fit my tag shaped paper punch. I printed them on my PIXMA Pro-100 photo printer at home so I would have better control of my picture size for this project. I was able to print eight tags at once using 8.5"x11" sheets of photo paper. I like to add baker's twine to my gift tags so I added a hole to each tag using this single hole punch.
Here's a close up of one of my gift tags on a small kraft gift box that I embellished with lace and gold glitter tape, a deer figurine and a mini bottle brush tree.
Stay tuned ... I have a few other projects that I'm working on for the holidays!



No comments:
Post a Comment